Core modelling skill 10: How to relocate inputs
Download the reference file to practice the steps below:
To obtain the worked example file to accompany this chapter buy the financial modelling handbook.
The golden rule of modelling that everybody knows is to separate inputs, calculations and outputs.
However, when we are building up the calculations in our model, it can be helpful to add the inputs as we go, right there on the calculation sheet.
Think of this like working in "scratchpad" mode. We are sketching out what the calculation will be and what we need to perform it. There can be a discovery process in thinking through how the numbers work and how we will lay it out.
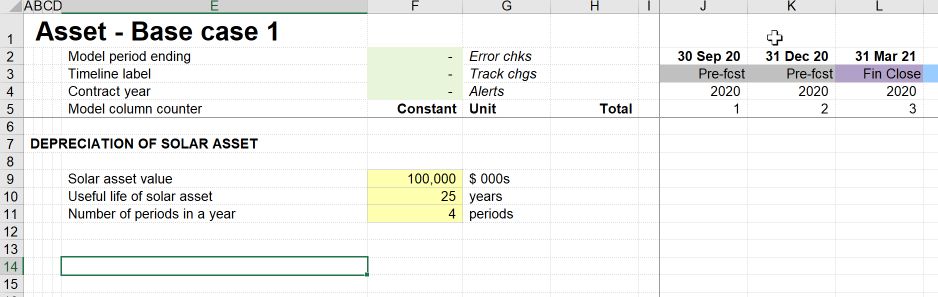
At this stage, I find it helpful to throw numbers down onto the page without worrying about structure too much. I'm still in thinking mode.
I still mark them as inputs as I go if I know they will be inputs. If I don't know that, or I know for sure that they will be a calculated ingredient later, I'll mark them as a placeholder.
Why not put them directly onto the input sheet?
You absolutely can. There is no problem doing this, and many people are more comfortable with this approach. If you find yourself coming out in a cold sweat at the thought of having inputs on your calculation sheet, even temporarily, ignore the rest of this chapter and move on.
I find, however, that it's often not until I've built up the calculation that I know what inputs I need. I'm comfortable therefore putting them with the calculation, knowing that I can relocate them quickly.
To me, the advantages are:
- I separate the activities of building the calculation from time spent organising and structuring inputs. Once I know what inputs I have, I then spend the time organising them.
- I don't spend time paging back and forward between the sheet I'm working on and the input sheet each time I add a new input to the calculation.
The relocation macro is faster than adding inputs to the input sheet by hand.
How to relocate inputs.
Method 1 - Using the Productivity Pack Macros.
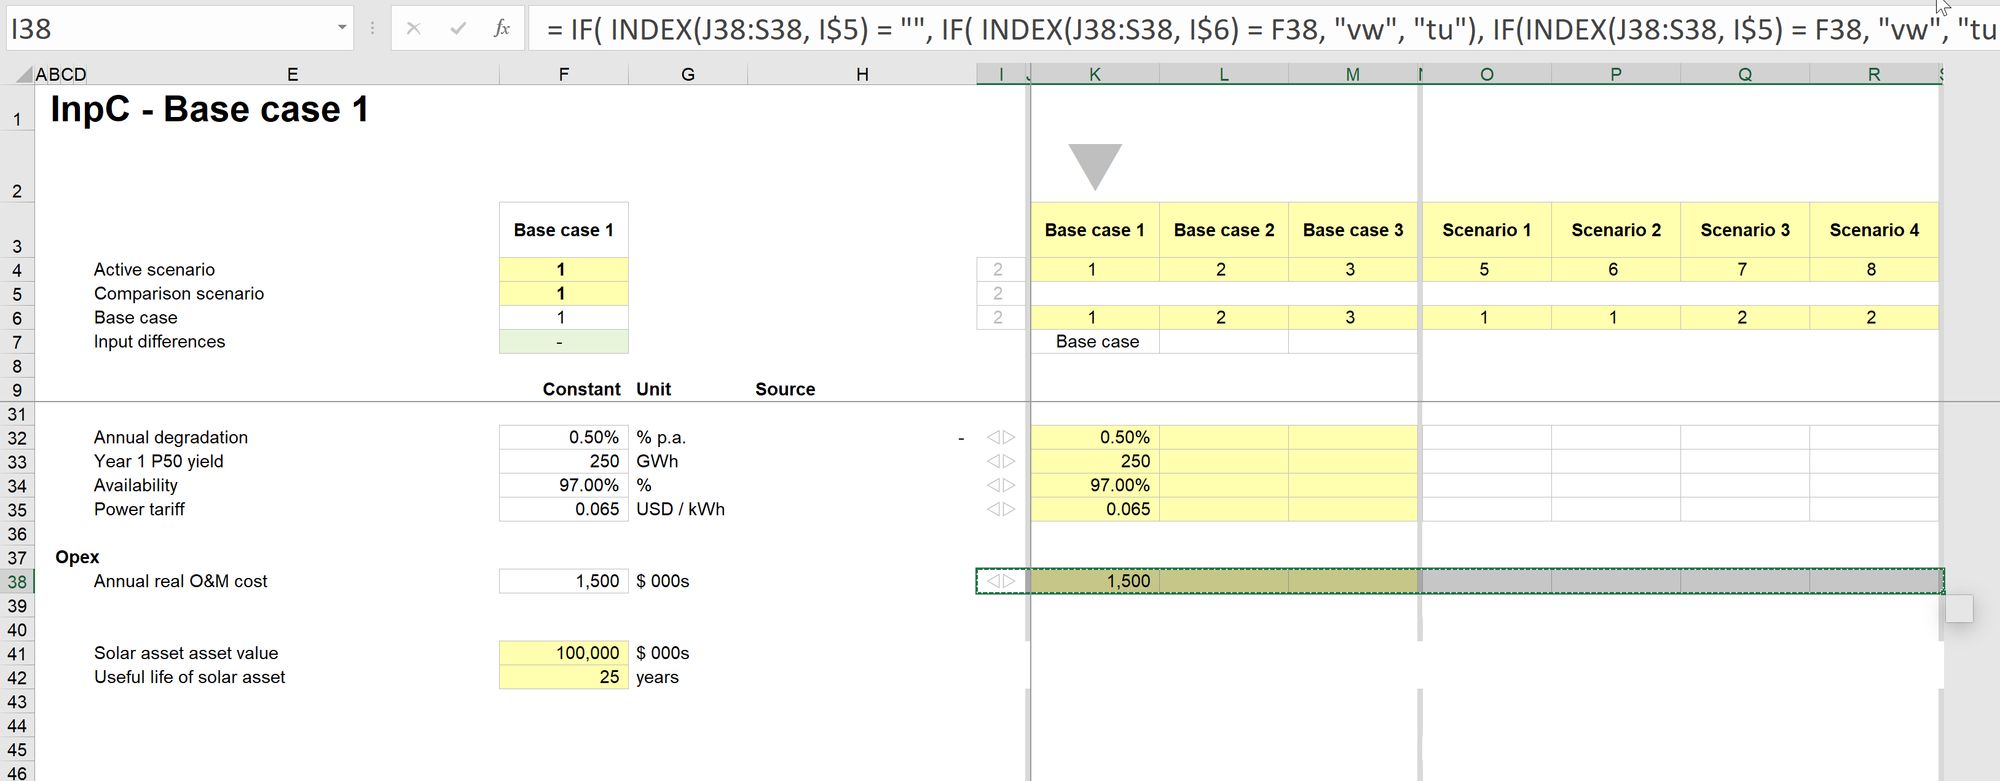
Step 1: Select the input or inputs you want to relocate.
The input relocation macro can relocate multiple inputs at once.

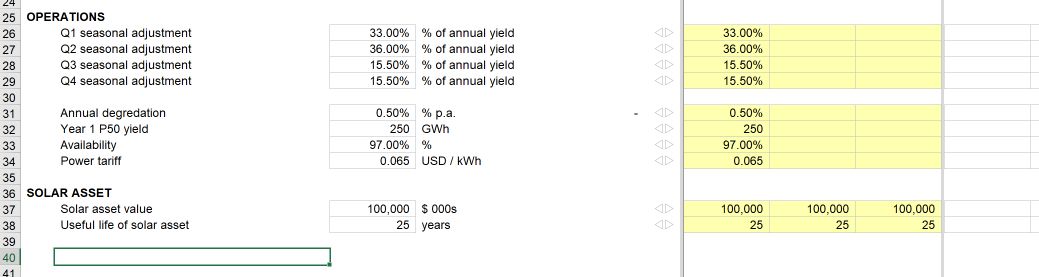
In this case, I have selected all three inputs. I could relocate them one at a time if I wanted.
Note that for the macro to work - you must be selected on an input that is properly formatted. You also need to have your input sheet set up in a specific way. See this page for the range names you need.
Step 2: Activate "Relocate input" macro
Step 3: Select the input sheet.
The macro will ask you which input sheet you want to move the inputs to. It will only ask you this once per session. The next time it will remember your choice and automatically move the inputs to that sheet.
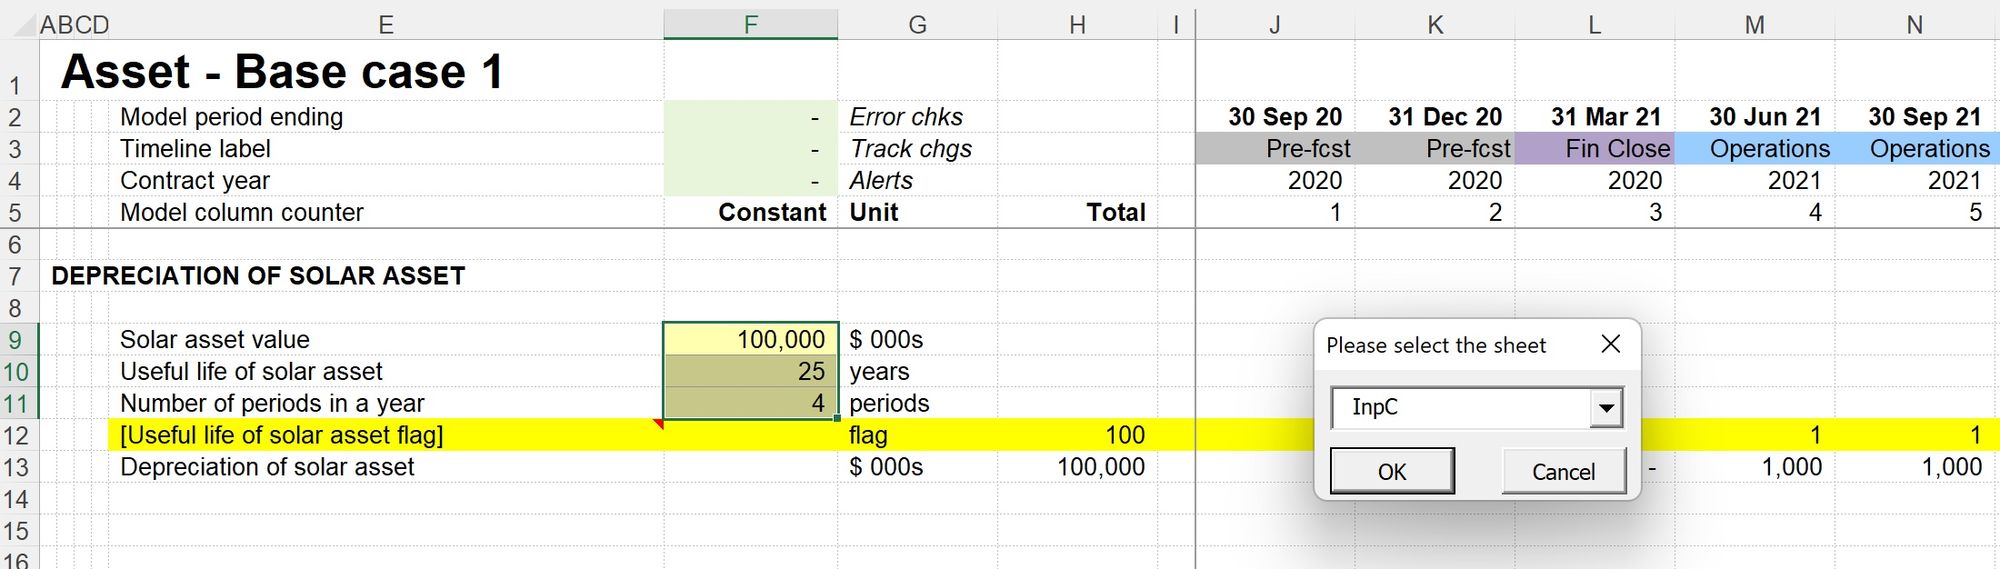
The macro will default to InpC as the sheet name. If your input sheet has a different name, you'll enter it here. The macro will remember your choice later.
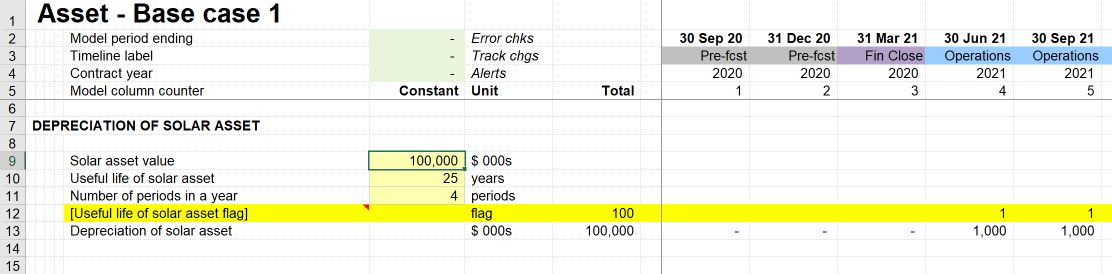
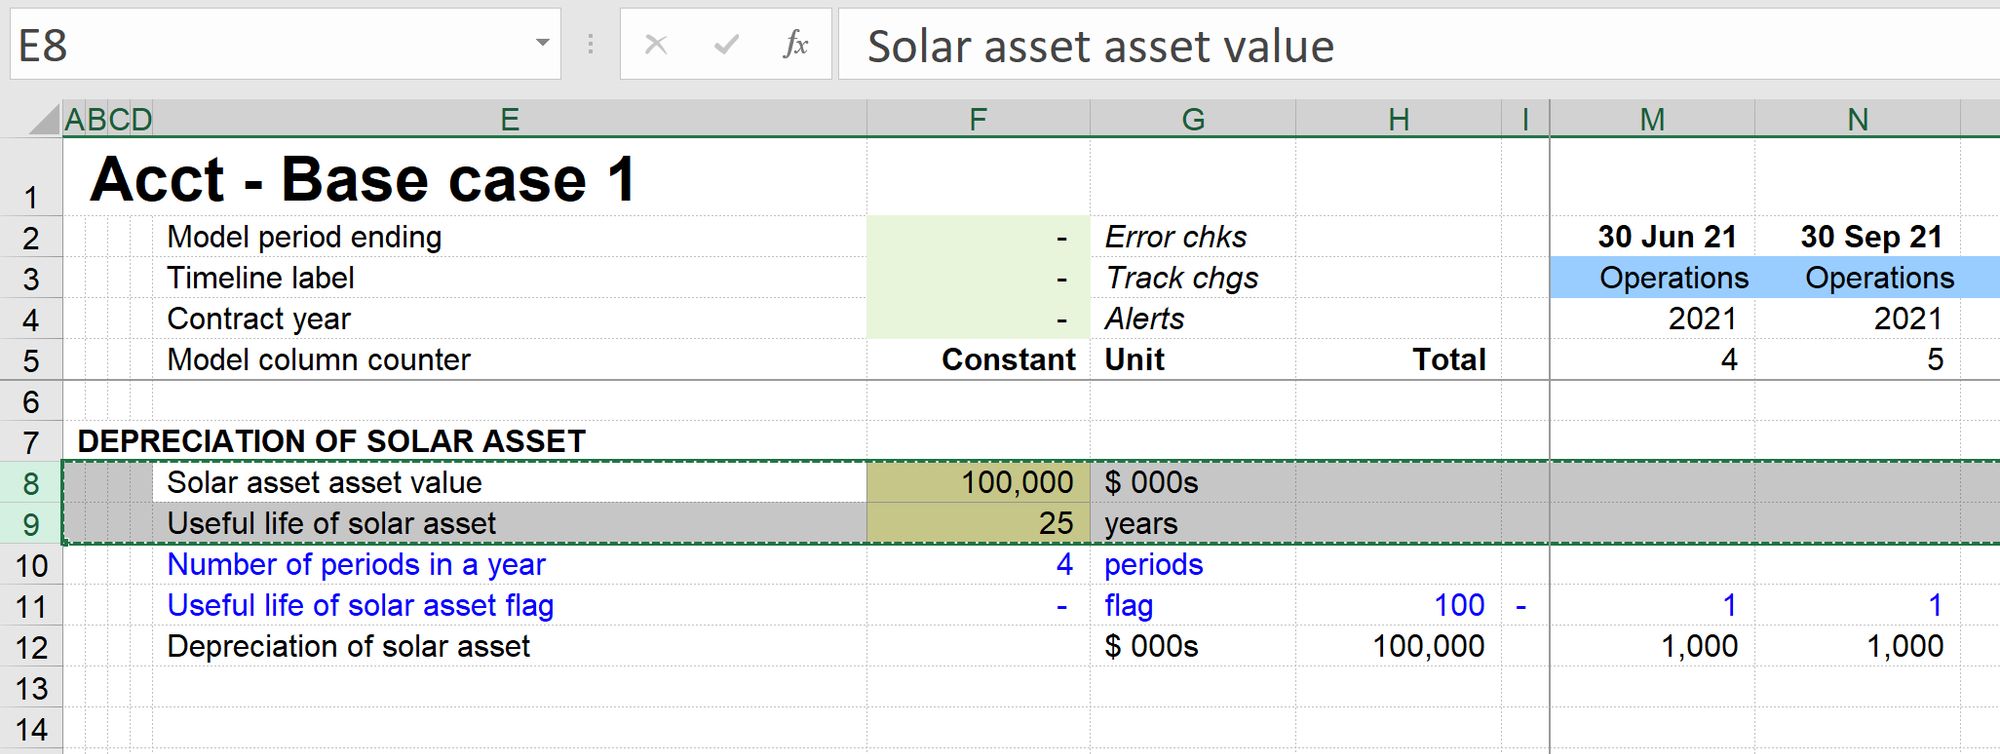
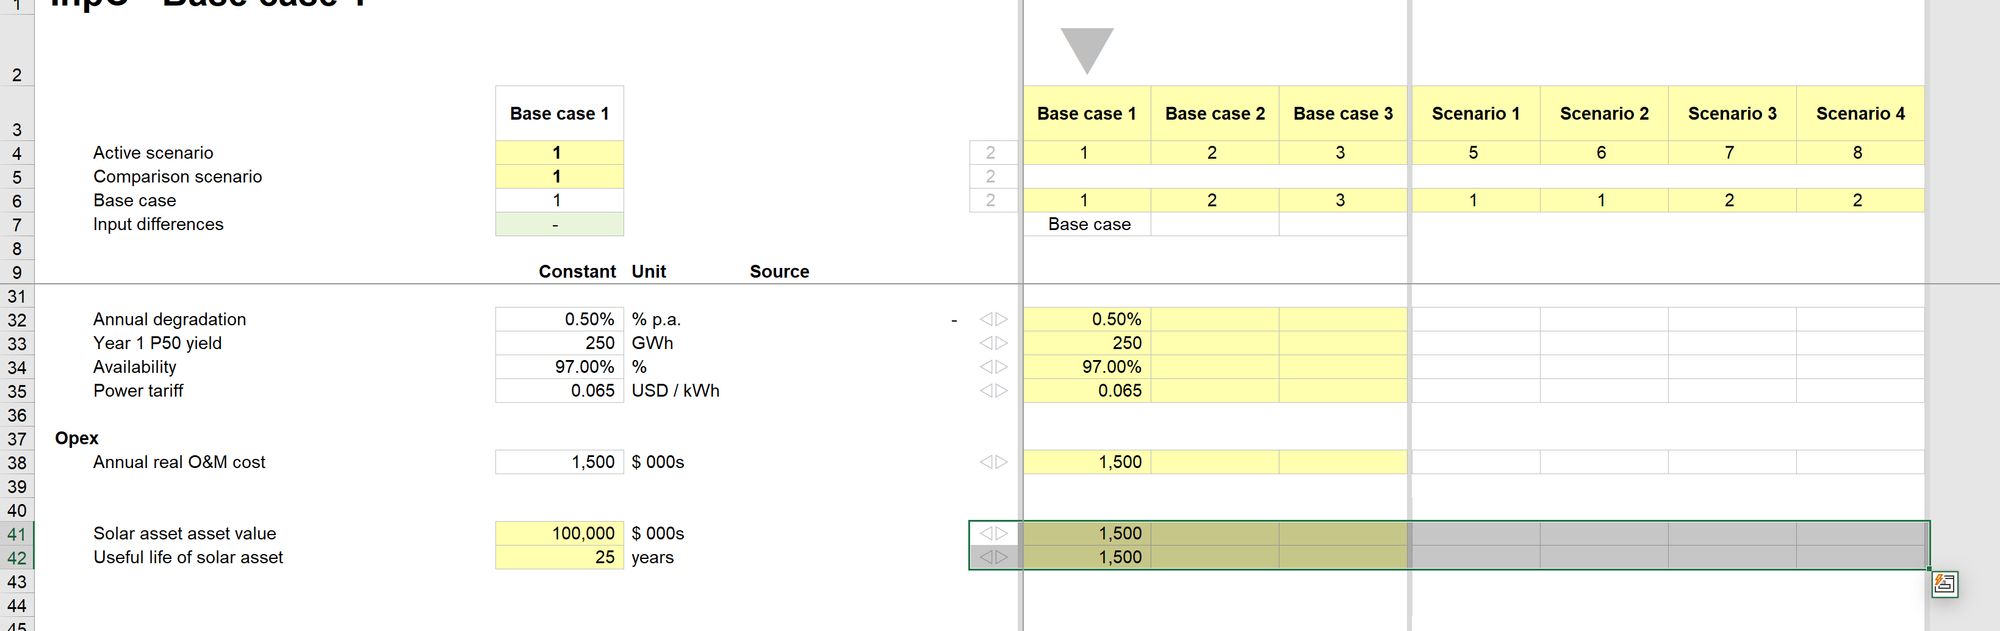
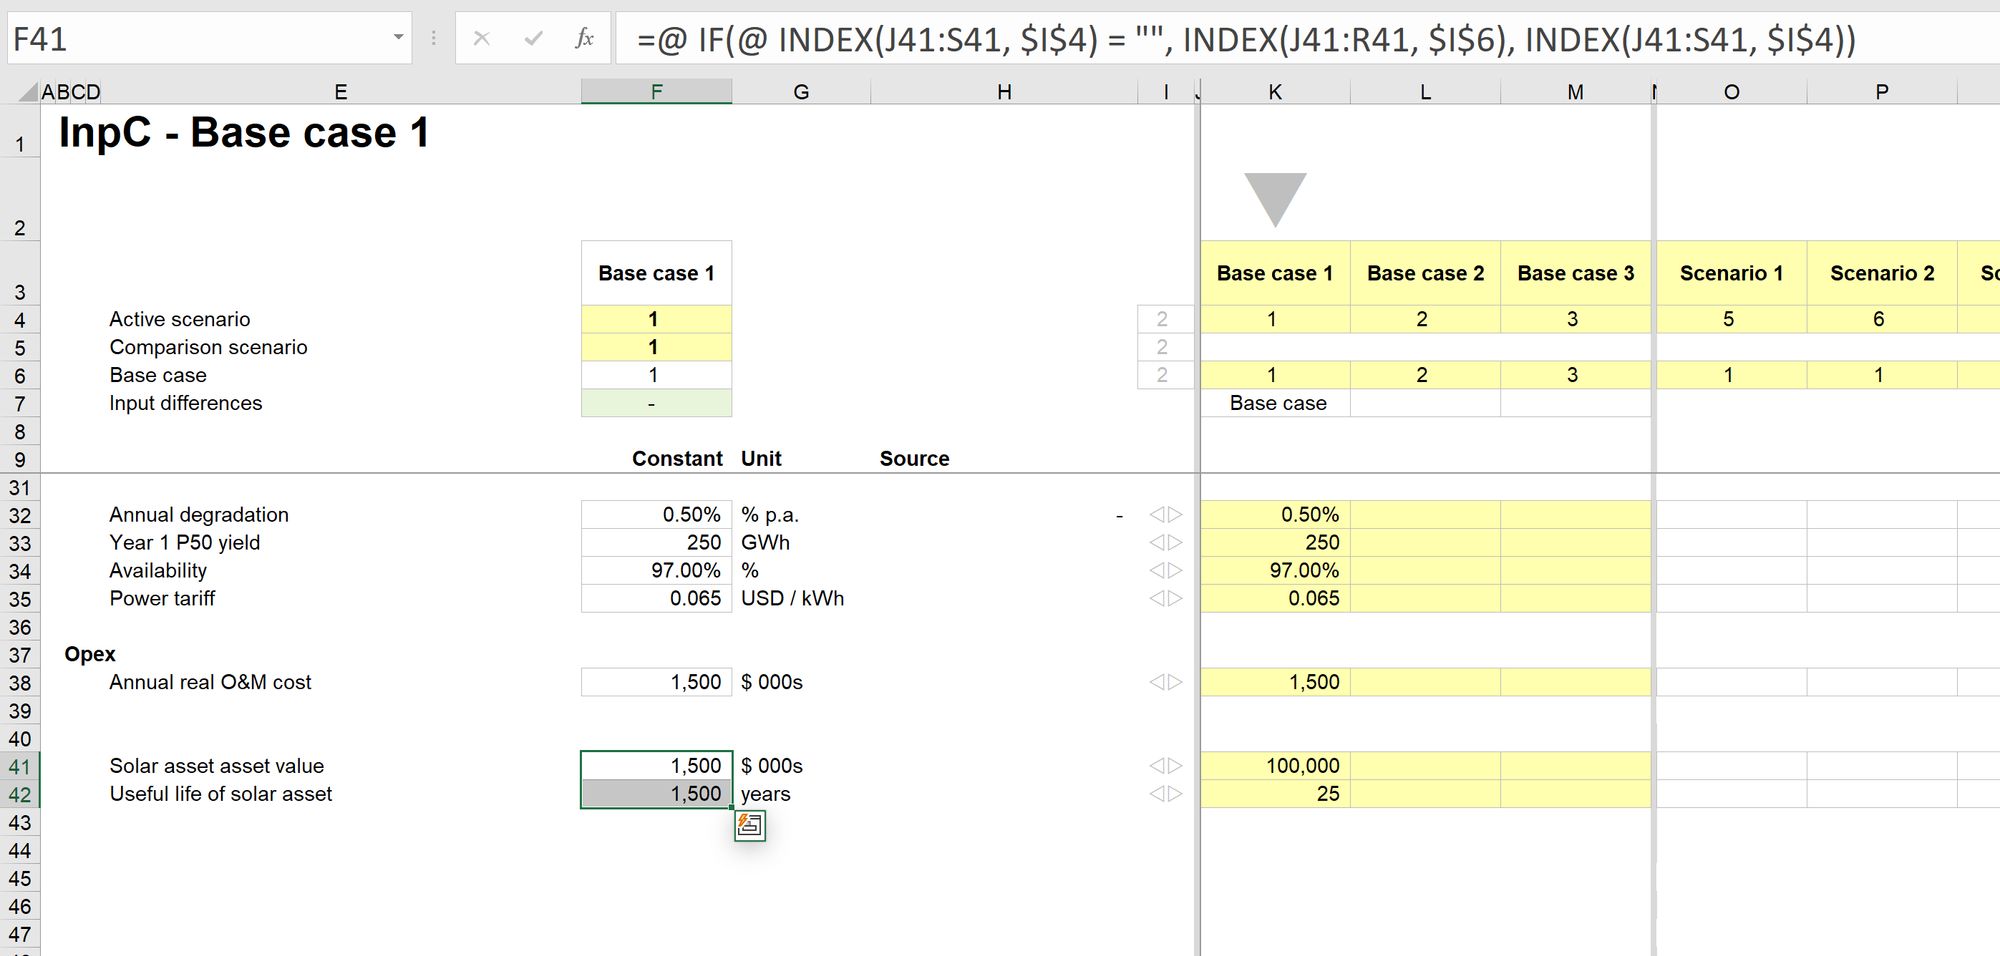
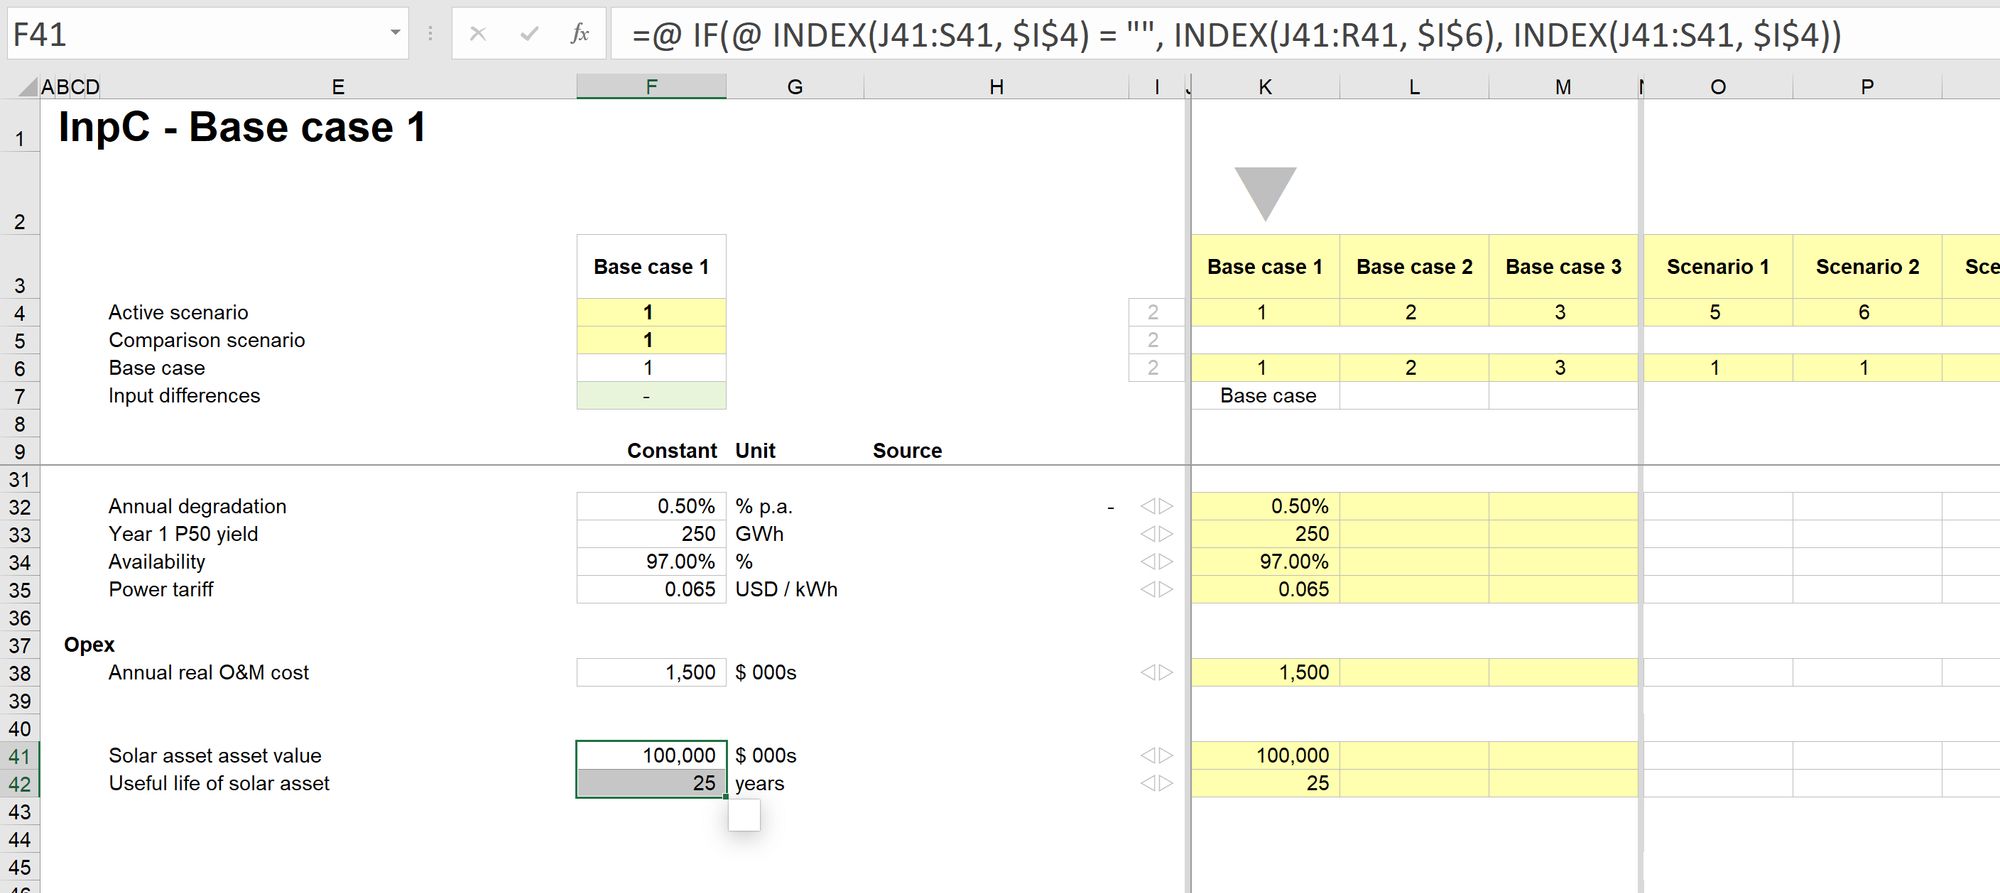
Your calculation sheet will instantly look like this:
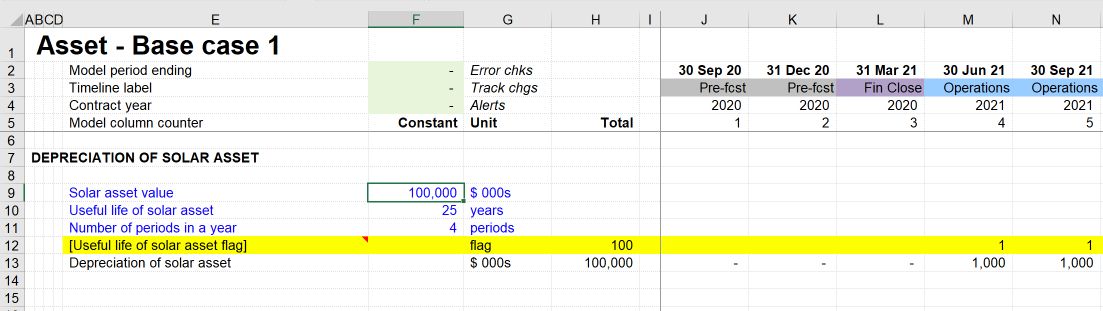
All inputs have been moved to the input sheet and replaced with row anchored links. (We’ll talk later about why links should be row anchored). The macro has coloured them blue since they are imported. (Again, we’ll come back to this).
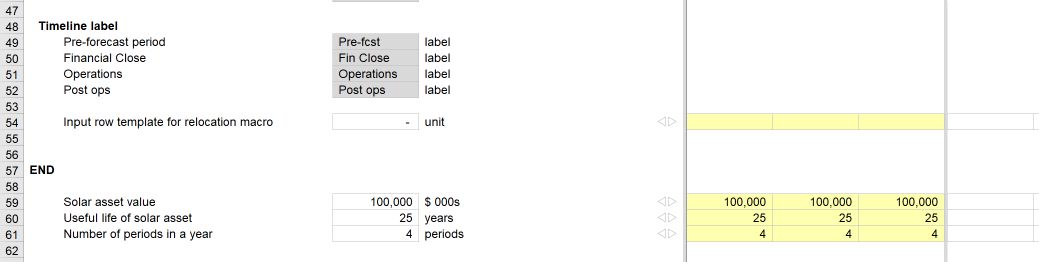
The inputs are now located at the bottom of the input sheet and set up with a complete "Input scenario" structure.
The macro defaults to putting them at the bottom of the sheet as it has no way of knowing where you want to put them on the sheet.
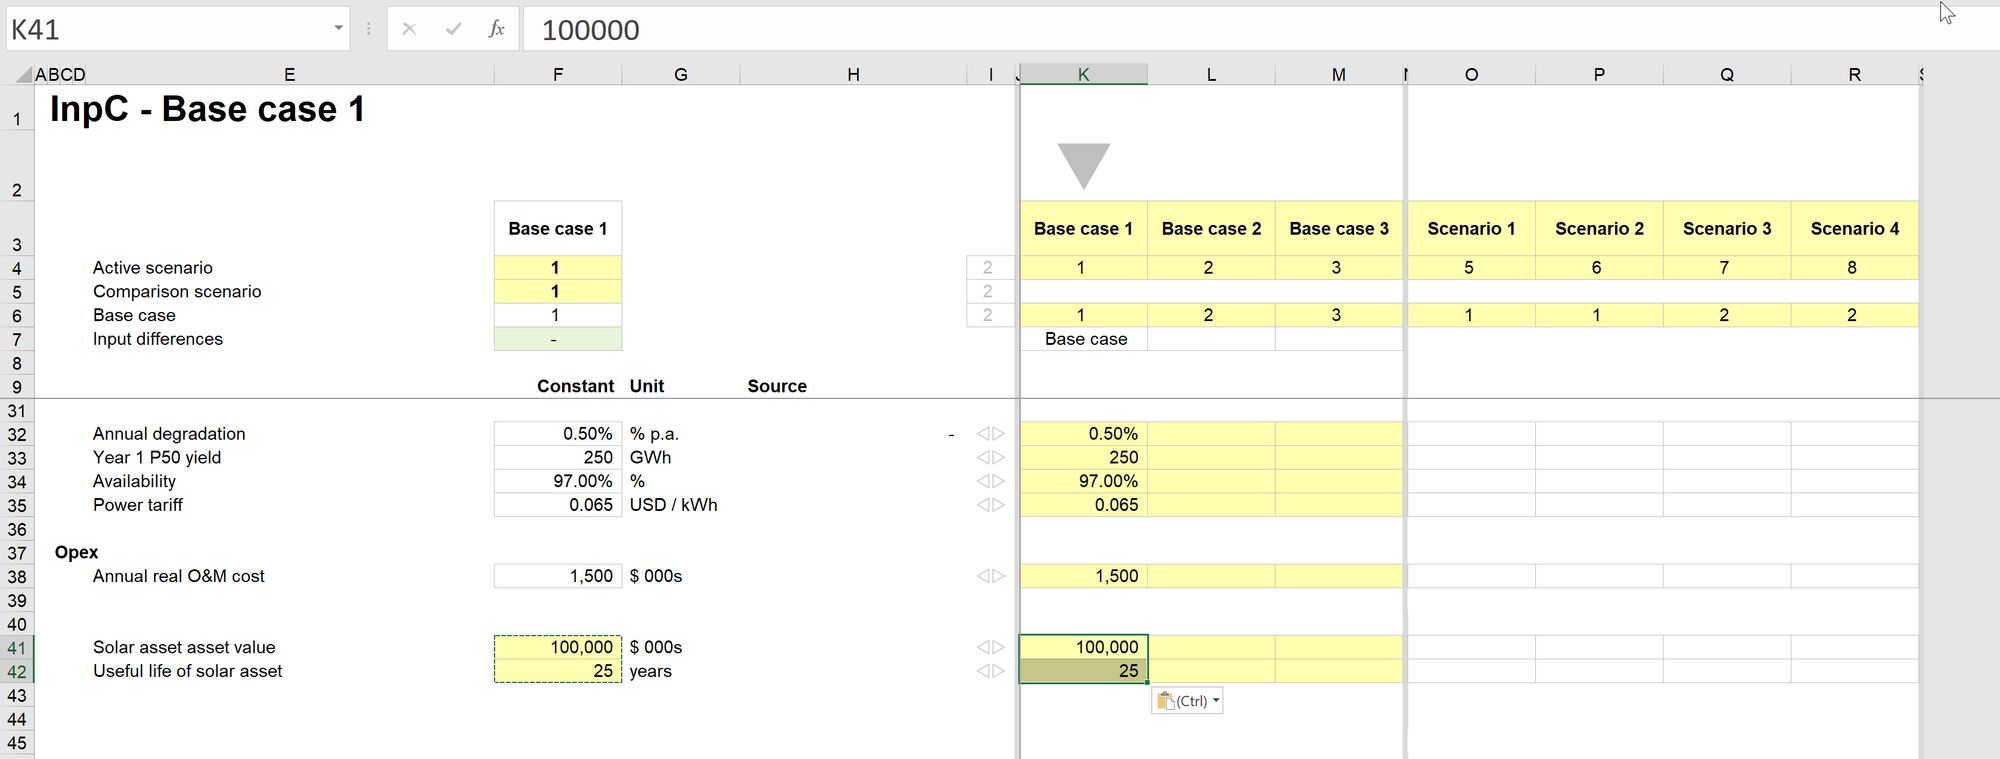
Step 4: Look out for duplicates.
Given the number of inputs in a fully built model, creating duplicate inputs is easy. If this happens, replace the link you have just created with a link to the original input. Then delete the duplicate.

Step 4: Move the inputs to where you want them on the input sheet.
Now that you know what inputs you have, you’re better equipped to spend time organising them on the input sheet.
For this, you will need to select the input row (using Ctrl+Spacebar) then cut the input using Ctrl+x. Important: DO NOT COPY THE INPUT.
When you cut and move the input, all links pointing to that input will move with it.
Consider grouping on the input sheet
As you move your inputs around your input sheet, consider what the most useful grouping will be. This will vary from model to model. You'll also want to consider the users of the model and what grouping will make the most sense to them.
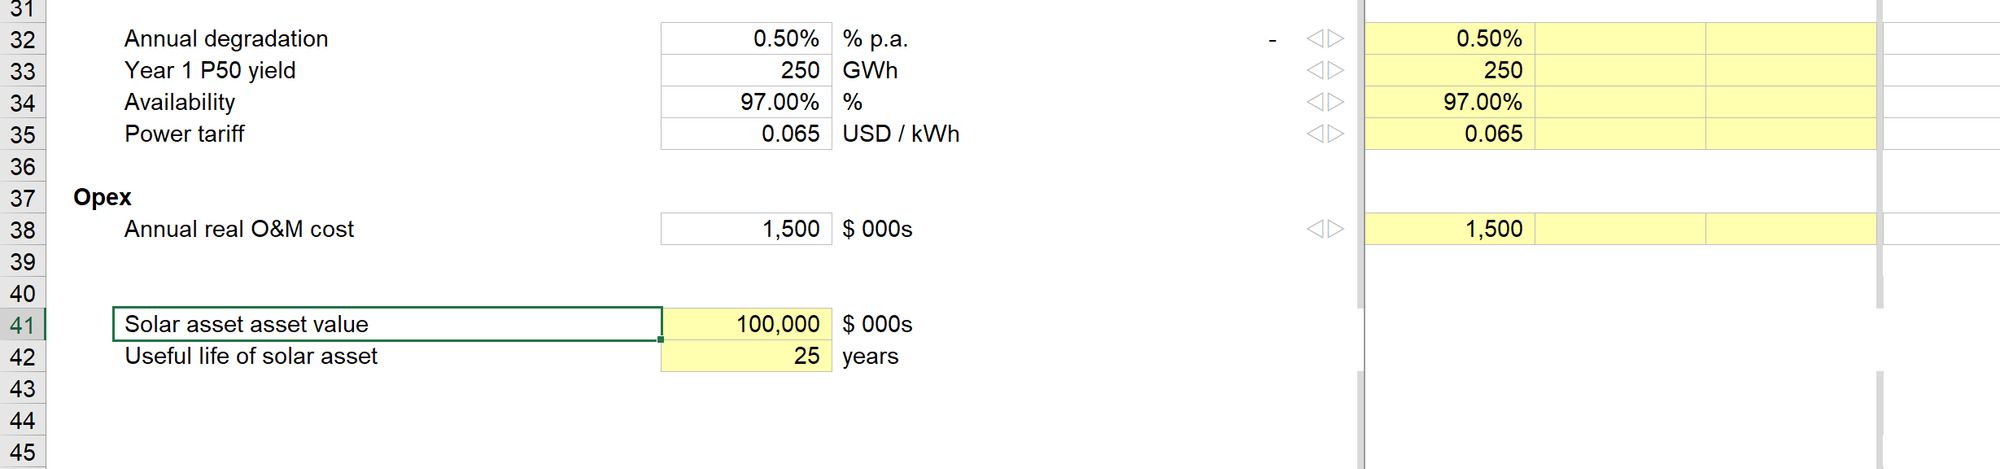
Use column A and B headings for section and sub-section headings.
Download the reference file after the inputs have been relocated:
To obtain the worked example file to accompany this chapter buy the financial modelling handbook.
Input sheet structure
Note that in order for the input relocation macro to work, you need to have a template input line item on your input sheet. It must be named InputRowTemplate. The input relocation macro copies this template when relocating inputs.
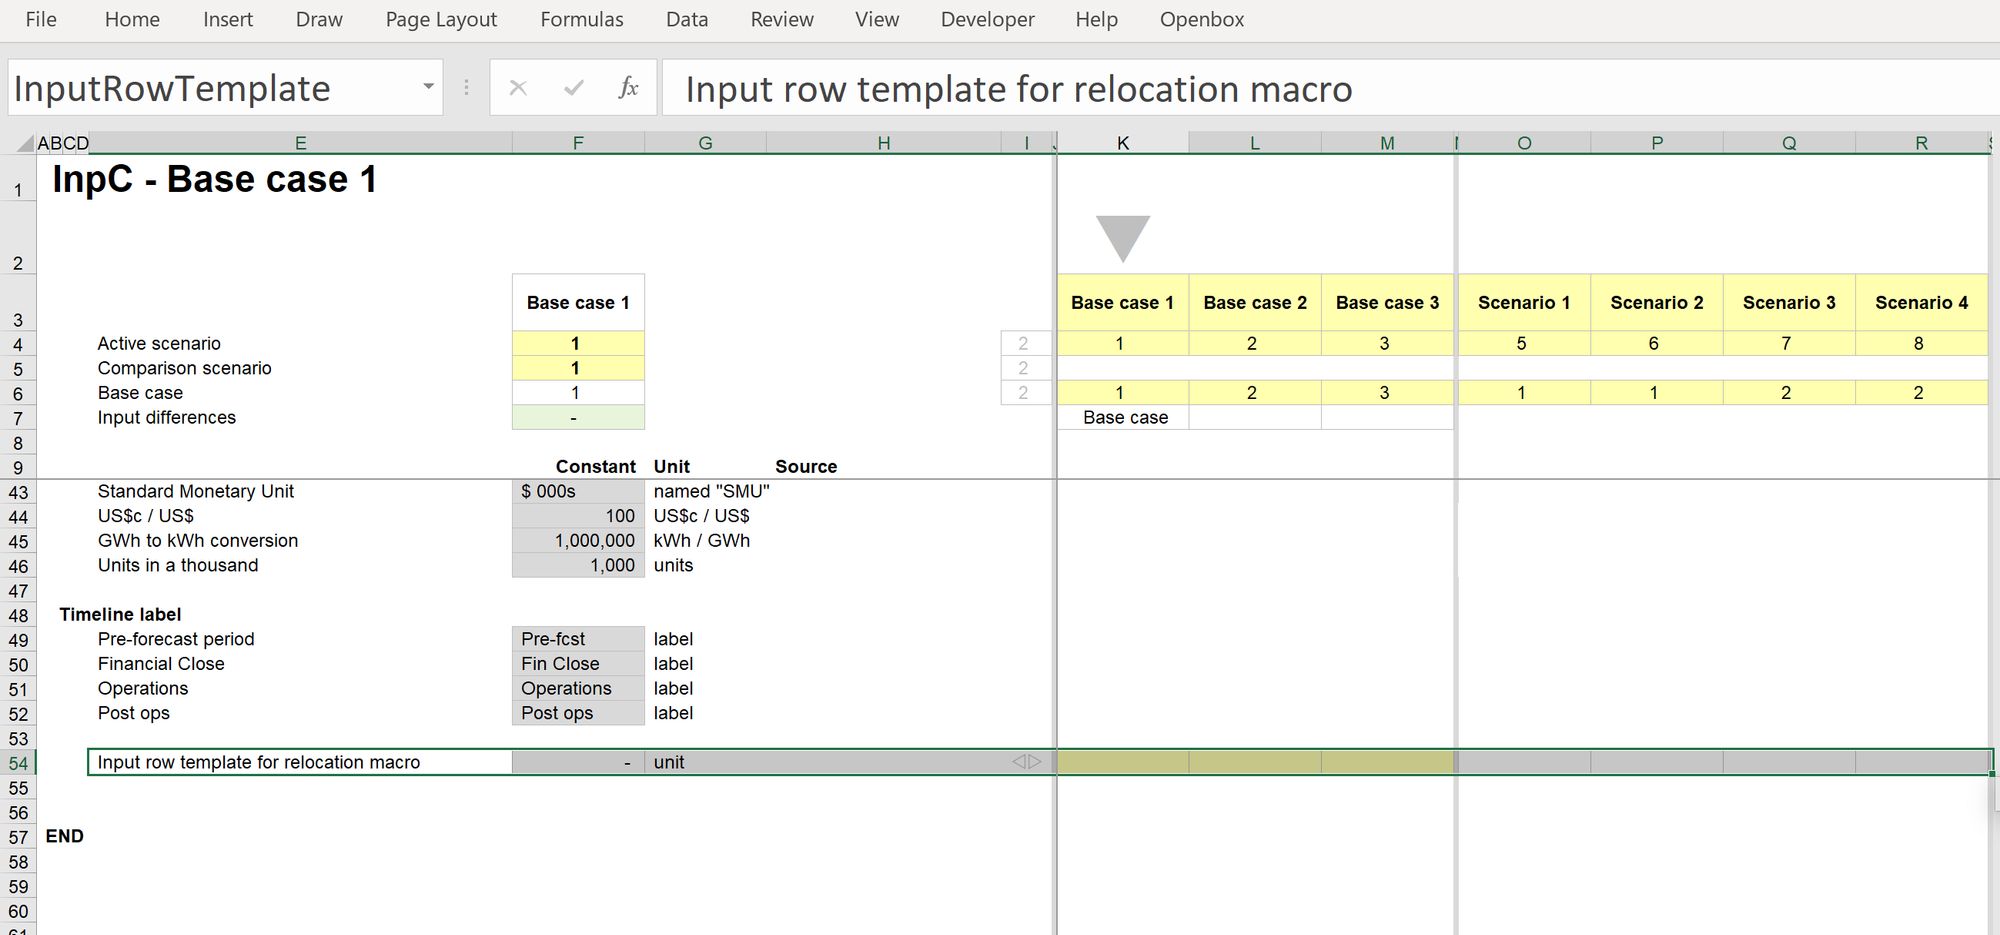
The start file provided has this Named Range already in it ready for you to use.
Method 2: Relocating inputs without the macro
I have included this section because it's useful for you to know what the macro is doing and show you the number of steps that the macro cuts out. Also, not everybody can use the macros due to work admin rights restrictions.
There's no doubt that doing this manually is laborious.
Step 1: Select the rows of the inputs you want to copy, copy the rows.
Step 2: Go where you want to put them on the input sheet and paste the inputs down.
Step 3: Copy the "scenario" infrastructure from a nearby row on the input sheet.
Step 4: Paste it down next to your new inputs.
Step 5: Copy the correct values into the scenarios.
Step 6: Paste the scenario selection formula from a row above.
Step 7: Local recalculation to check the values.
Step 8: Create links from the new inputs to the calculation sheet.
See Modelling Skill 2 on creating links. You can paste the links over the top of the existing inputs on the calculation sheet.

Comments
Sign in or become a Financial Modelling Handbook member to join the conversation.
Just enter your email below to get a log in link.