How to attach a macro to a button
Every time we change an assumption, we will have to run the macro to resolve the model. We, therefore, want to make that easy.
In this section, we'll look at adding a button to the Solve sheet that runs the solve macro.
The steps to do this are pretty straightforward.
Download the start file for this section:
To obtain the worked example file to accompany this chapter buy the financial modelling handbook.
Step 1: Select button from form controls.
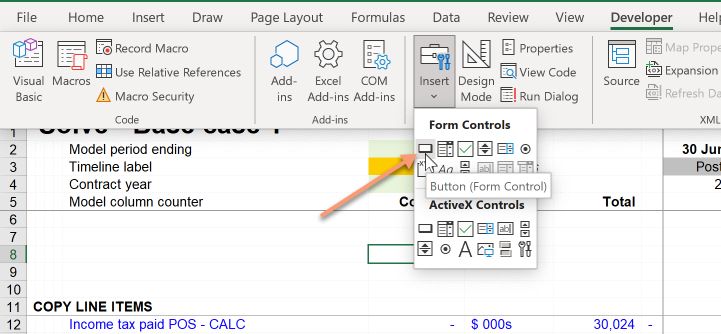
Step 2: On the Developer Tab, click in Insert, and then from Form Controls, choose "Button".
Step 3: You will get a little crosshair symbol. Use that to draw the button's shape in the location where you want to place it.
Step 4: You will immediately get this "Assign Macro" dialogue. Again you're likely to see all the Productivity Pack macros in the list. Filter if you need to by listing only the macros in this workbook.
Step 5: Choose your MasterSolve macro.
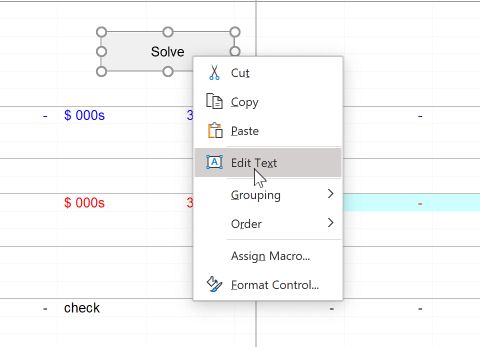
Step 6: You can change the text on the Button by right-clicking and choosing Edit Text. I have changed the text on my Button to Solve.
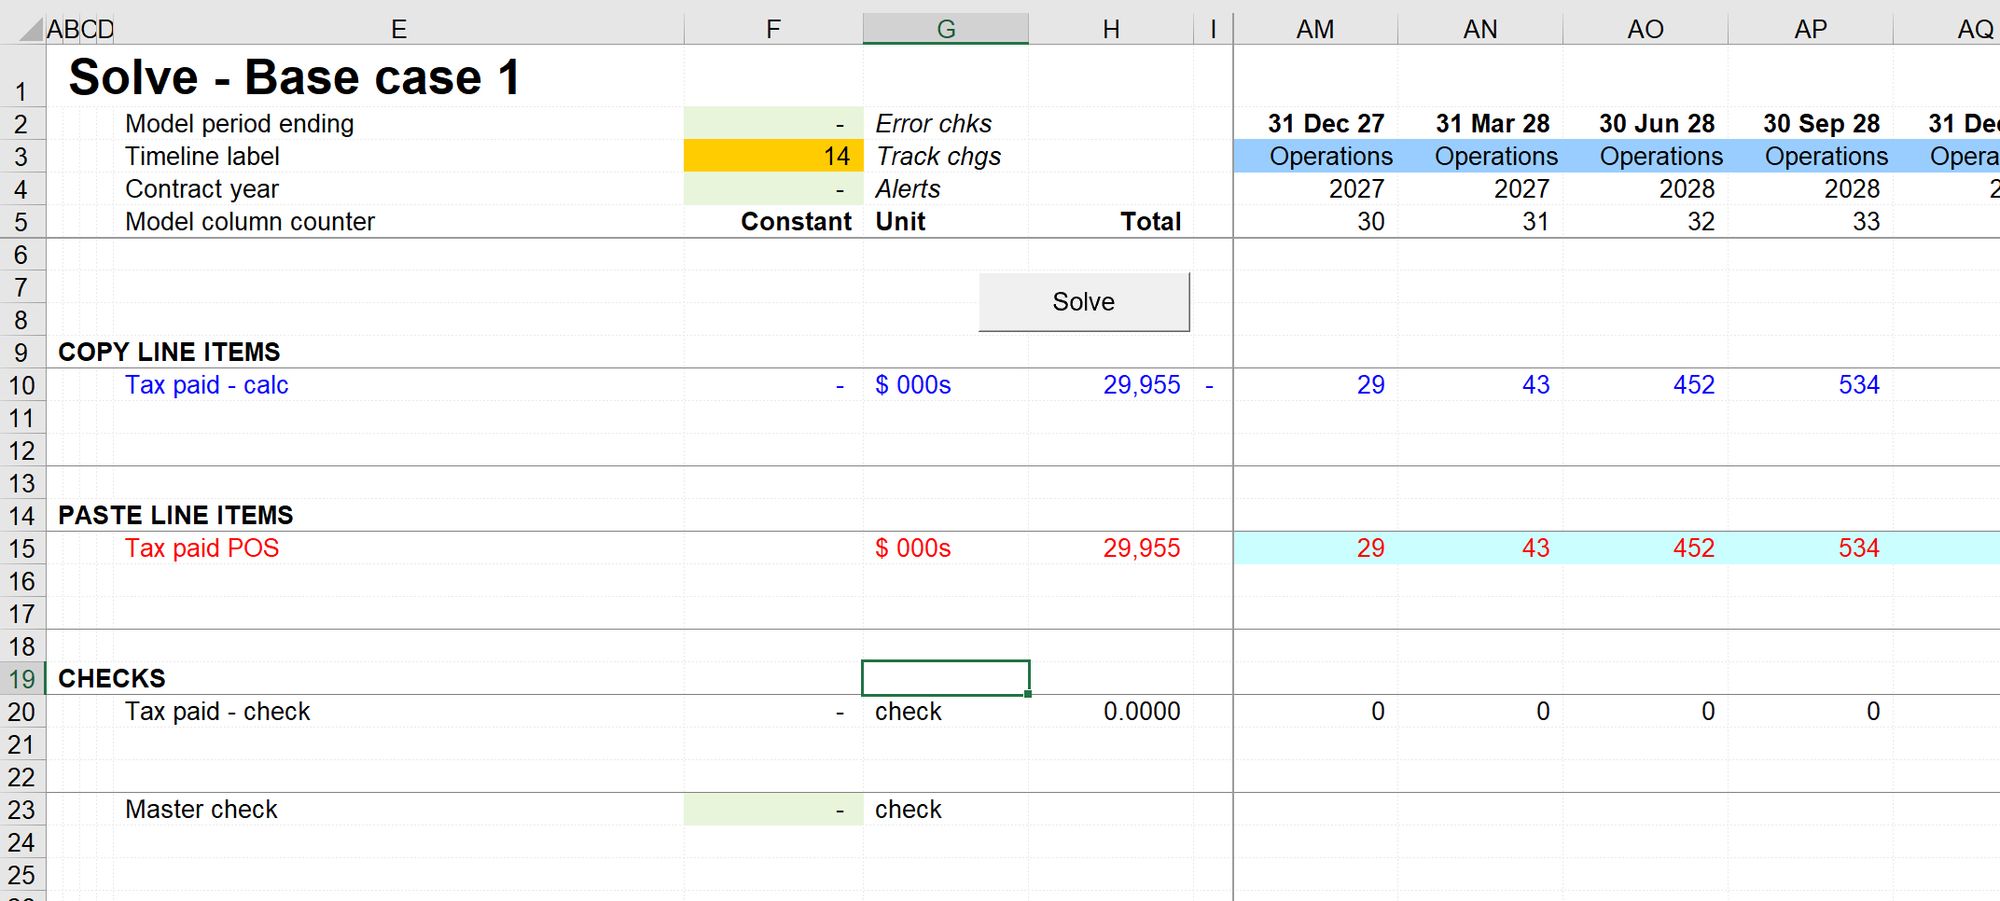
Step 7: We can place the solve button in other locations in the model. For example, the Output sheet or a Dashboard sheet. The objective is to make it easy to run the macro when needed.
Whenever we hit Solve now, the macro will run.
Download the financial model complete to this point:
To obtain the worked example file to accompany this chapter buy the financial modelling handbook.
Comments
Sign in or become a Financial Modelling Handbook member to join the conversation.
Just enter your email below to get a log in link.