Core modelling skill 5: Creating a new calculation
Download the reference file to practice:
To obtain the worked example file to accompany this chapter buy the financial modelling handbook.
When creating a new calculation, most of your thinking time occurs when gathering the ingredients. This is the work of understanding what we're trying to model. Sometimes, when we start creating the calculation, we find that we don't have all the ingredients we need or have the wrong ingredients.
Once we have all the ingredients gathered, the work of writing the formula is often relatively straightforward.
Like all of our core skills, our aim is clarity, consistency and transparency.
Let's add the calculation to the block we were working on. We can then look at some principles for writing calculations.
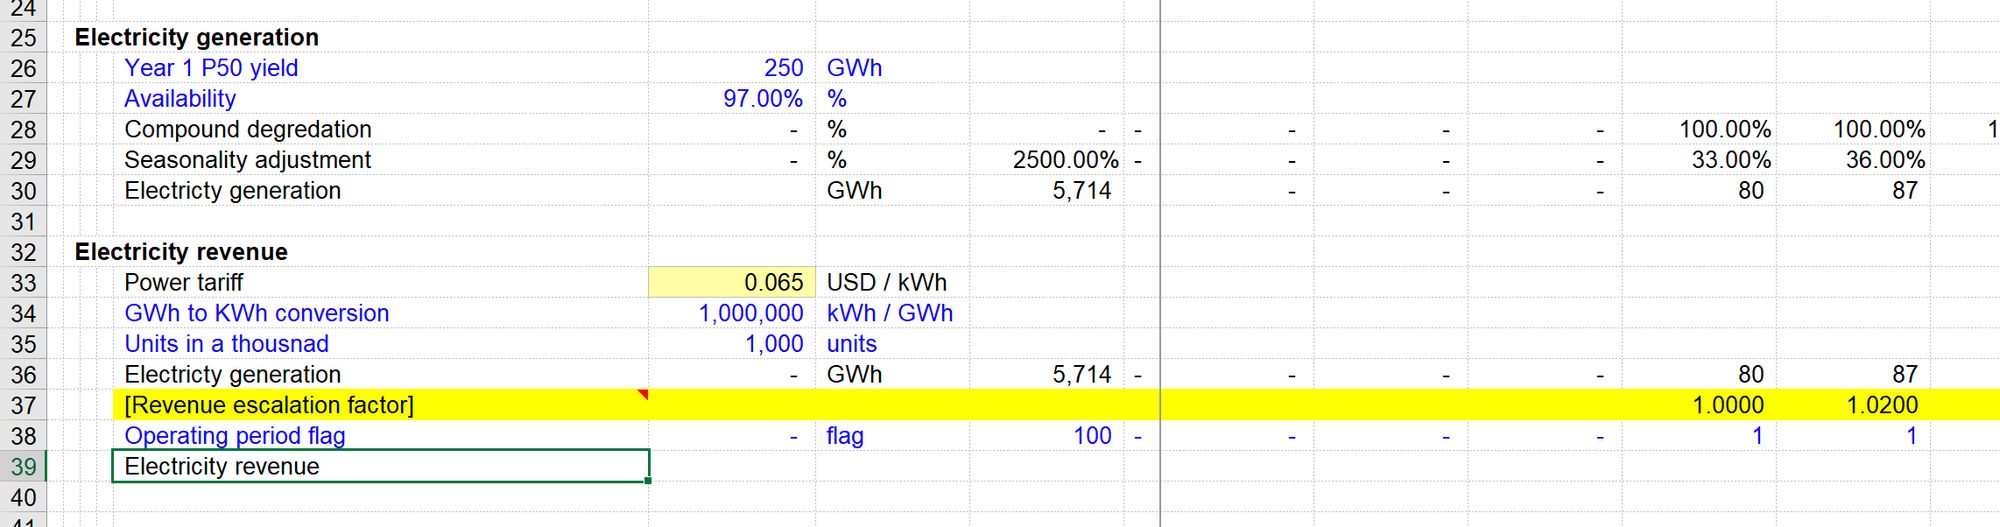
Step 1: Add the row label
Adding the row label as the first step is an excellent habit to get into. If you are distracted or interrupted while creating the calculation, you'll be better able to pick up where you left off if the row is labelled.
Again - take time to ensure the most descriptive label possible. Remember that it may need to be read out of context elsewhere in the model; will you still know what it is if it appears as a link on another sheet?
Step 2: Start from the first column of your timeline.
The first column of the timeline is often Column J in our models, but it does not always have to be. Our default approach is to write the calculation in column J and then copy it across.

The fundamental principle here is that the calculation should be the same across the timeline. Writing the formula in the first column is the best way to ensure this.
Step 3: Always column anchor when referring to the constants column
The quickest way to achieve column anchoring is three taps on F4.
Do not row anchor in formulas. See Core skill X with regards to copying calculation blocks.
Step 4: Include spaces in your formulas.
It will take a little time to get used to. The effort is worth it to make your formulas more readable. I don't even notice I'm doing this now.
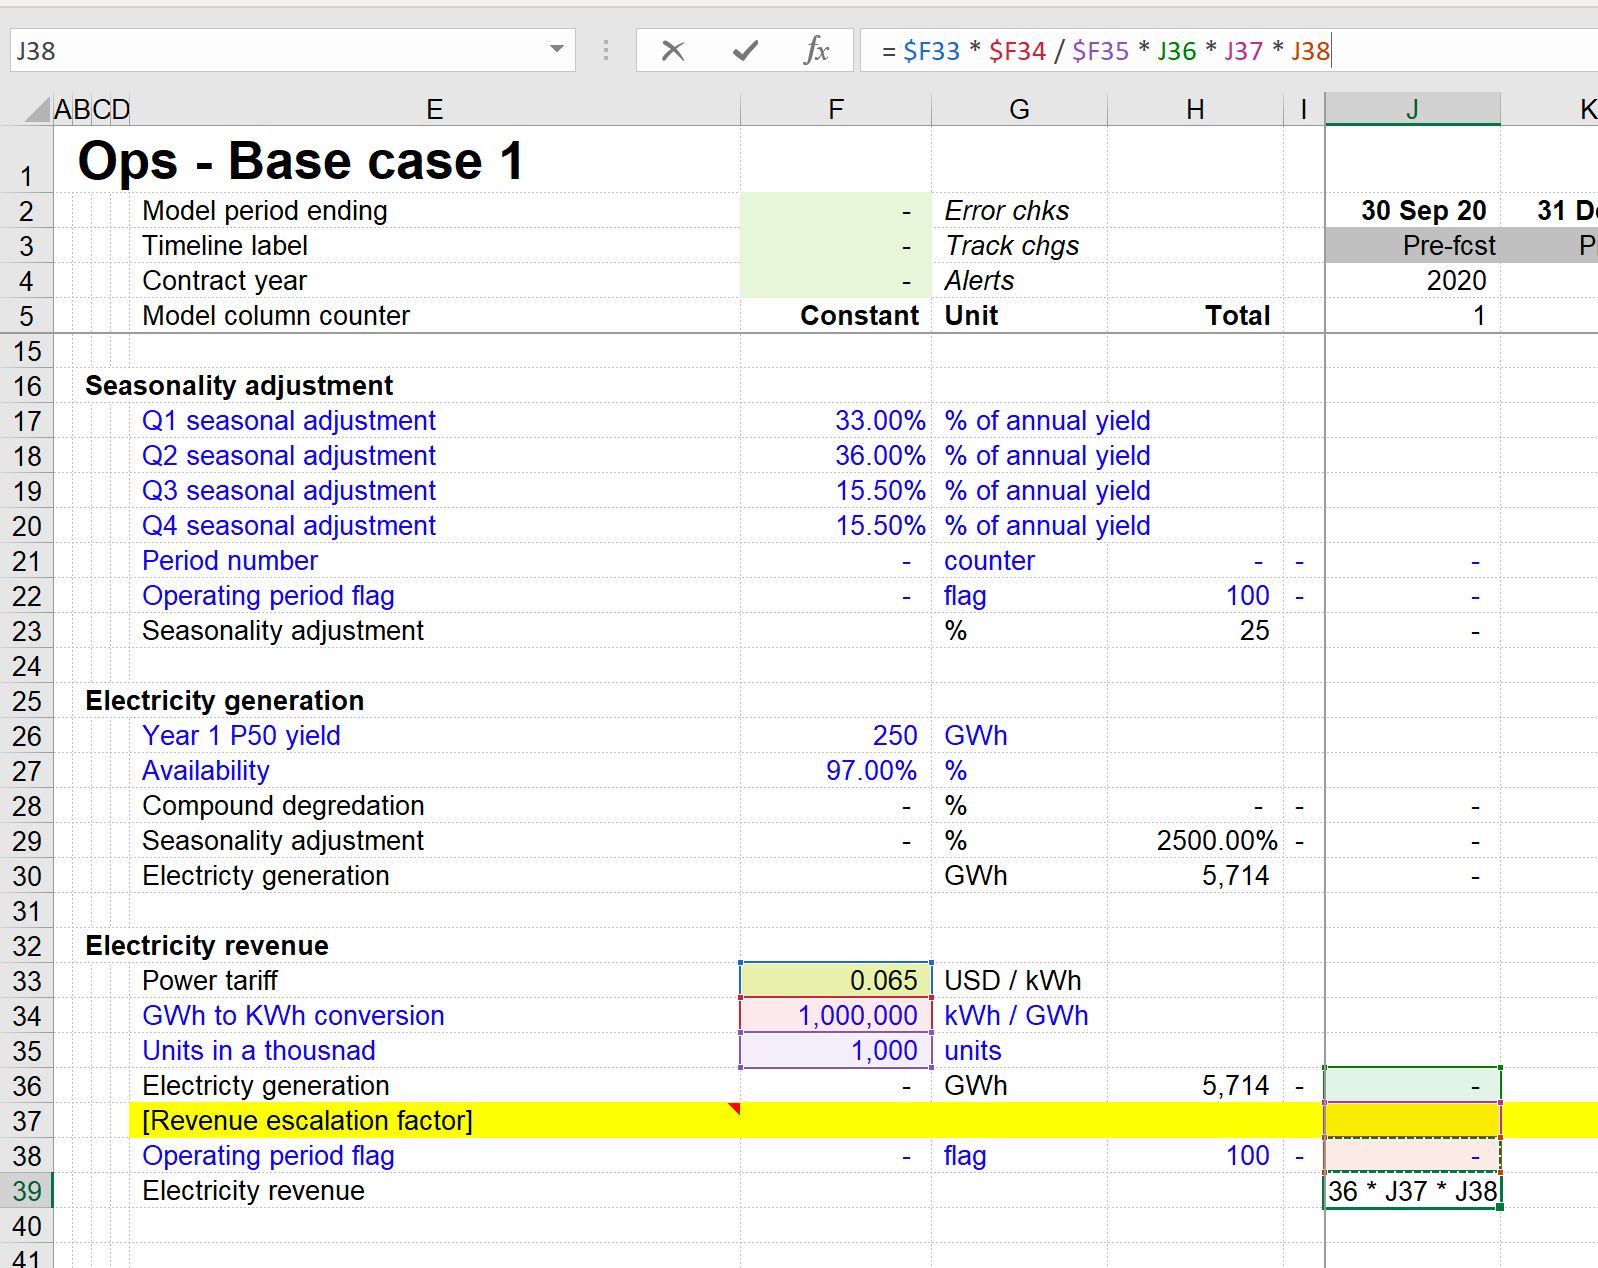
Step 5: Keep your formulas short.
If the formula is getting too long, consider breaking the calculation into a couple of steps with separate calculation blocks. Your future self will thank you.
Step 6: Once you've written your formula, press enter.
You should stay exactly where you are and not move down a row. If you are still moving down a row after you press enter, go back to Chapter X on setting up your Excel environment.
Step 7: Copy the formula across the timeline.
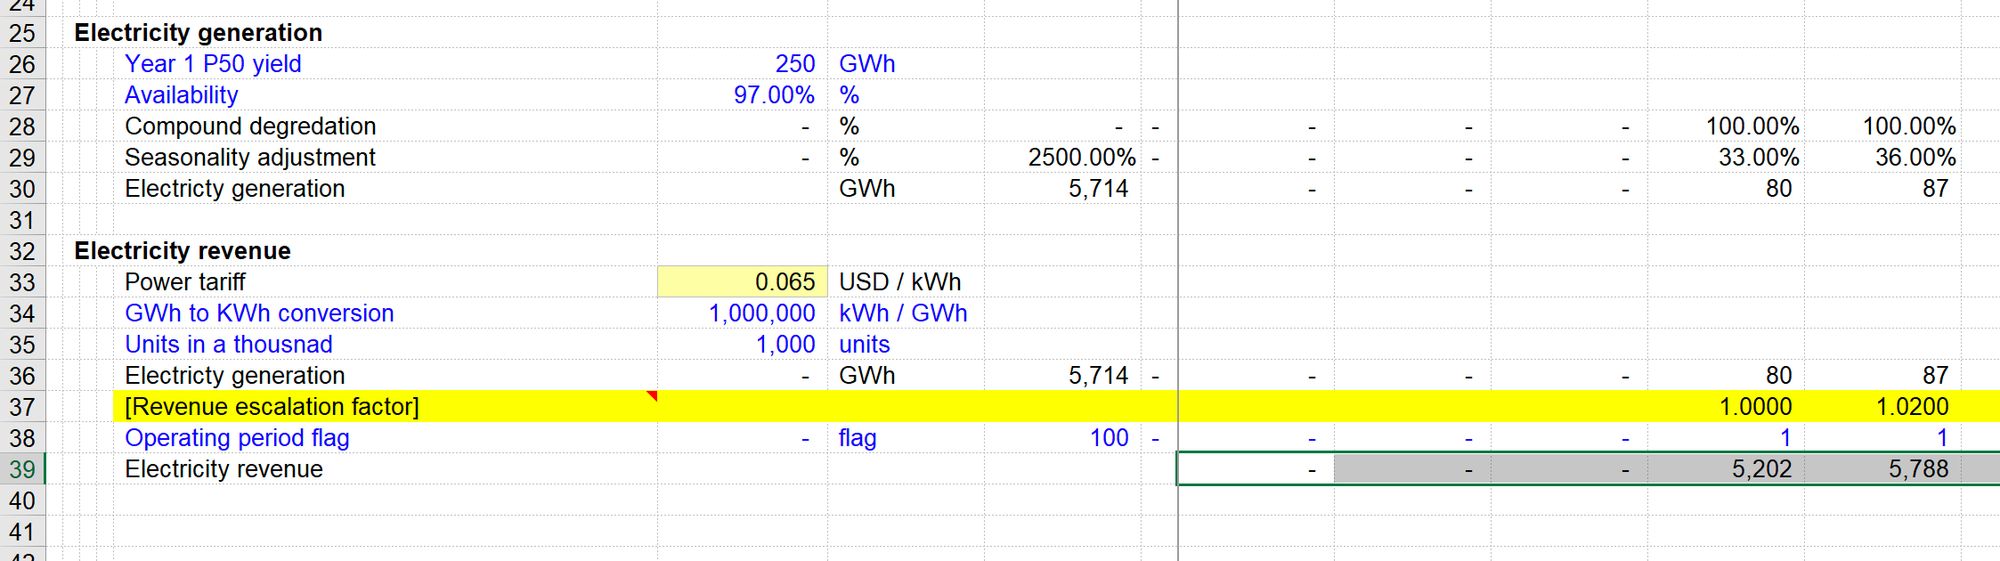
You should have already hidden all the columns after the end of your timeline. Therefore your copy across macro will only copy as far as the end of the timeline. If you have not done this, go back to Chapter X on structuring your workbook.
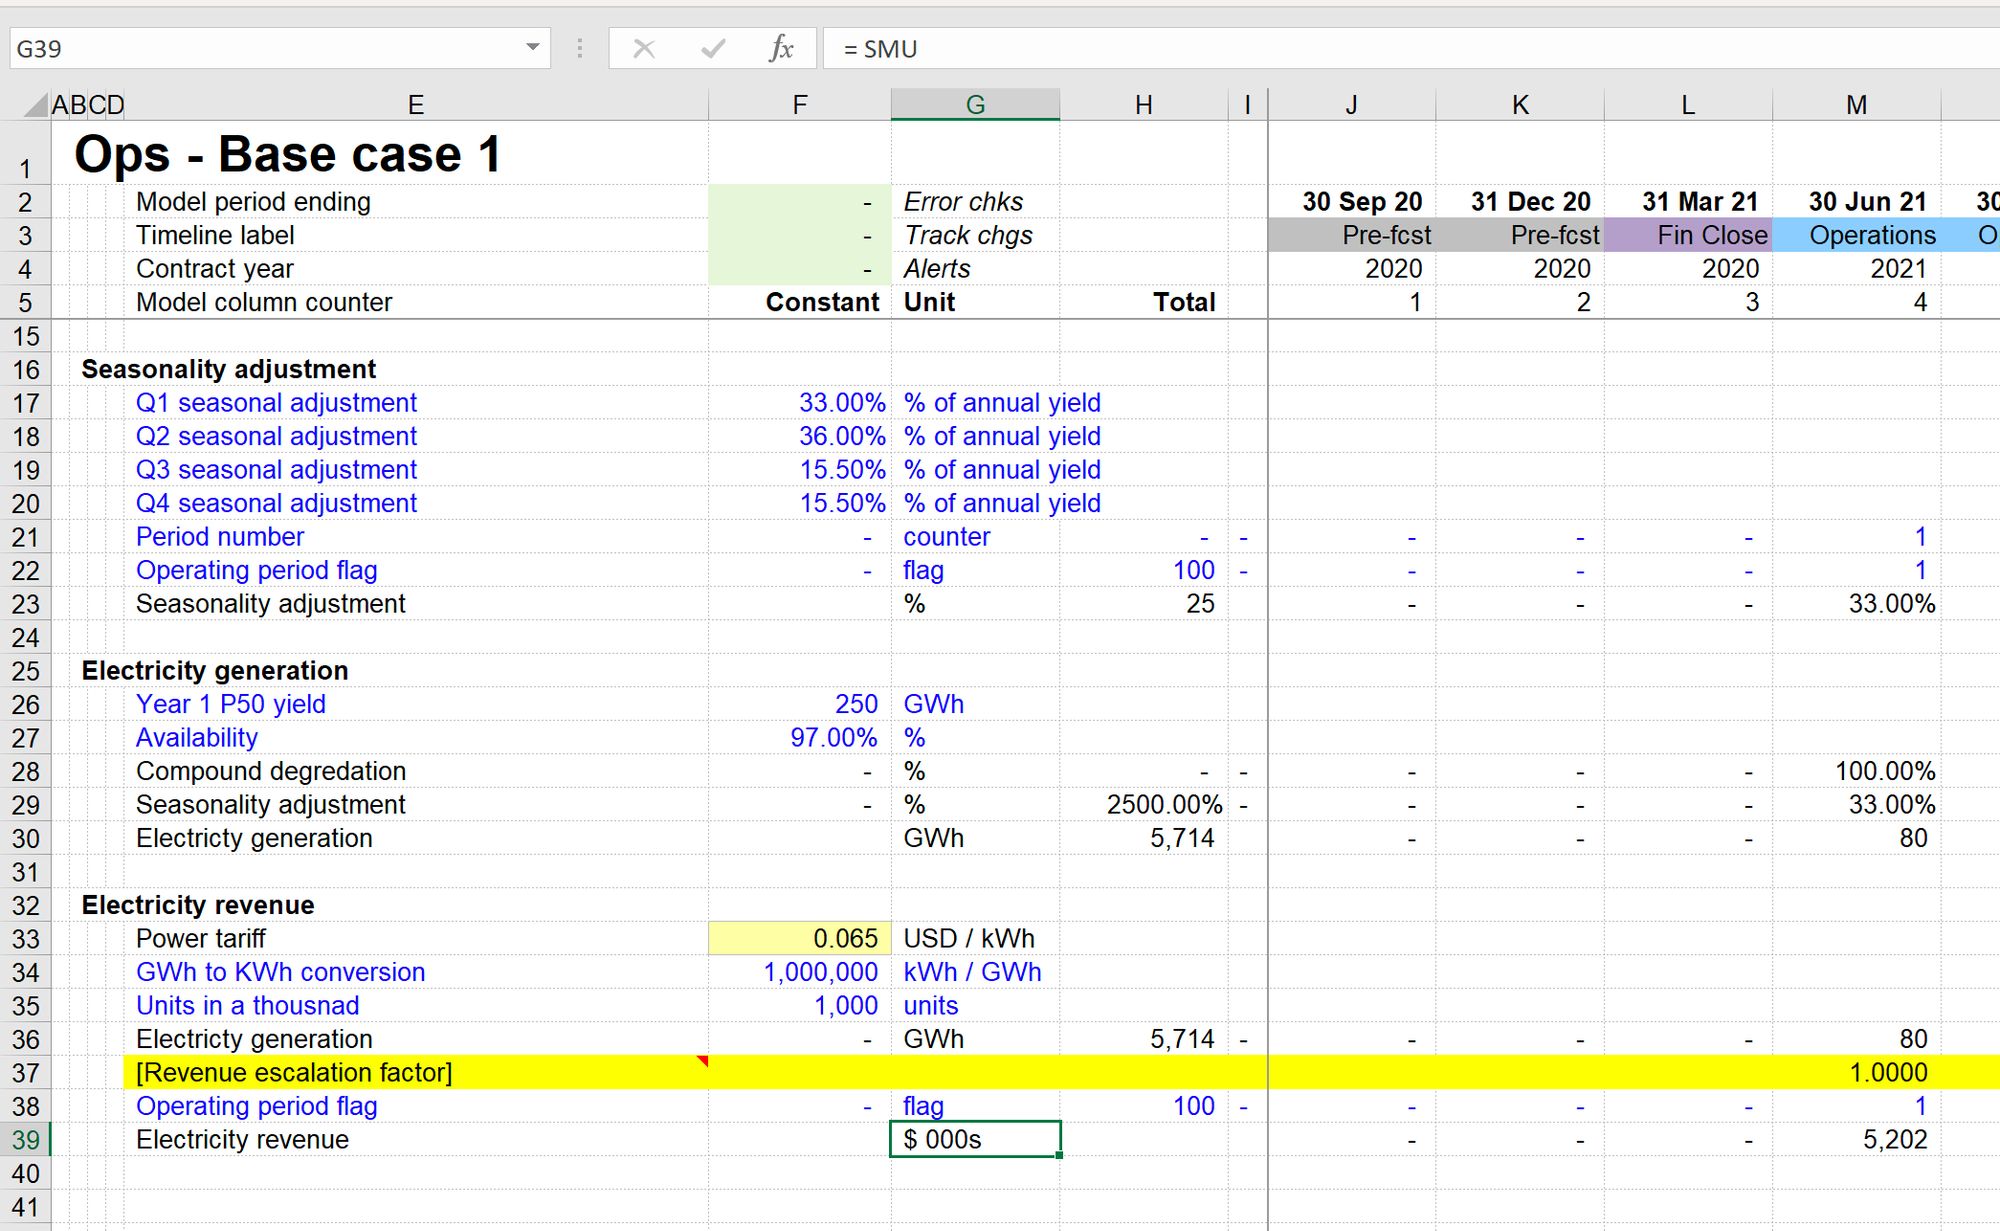
Step 8: Add units
Think of adding units as part of creating the calculation; a calculation is not complete until it has units identified. If you use a standard monetary unit in the model, and it applies to the calculation you are creating, you can type "=SMU". Otherwise, enter the units as text. See Chapter X on using a Standard Monetary Unit.
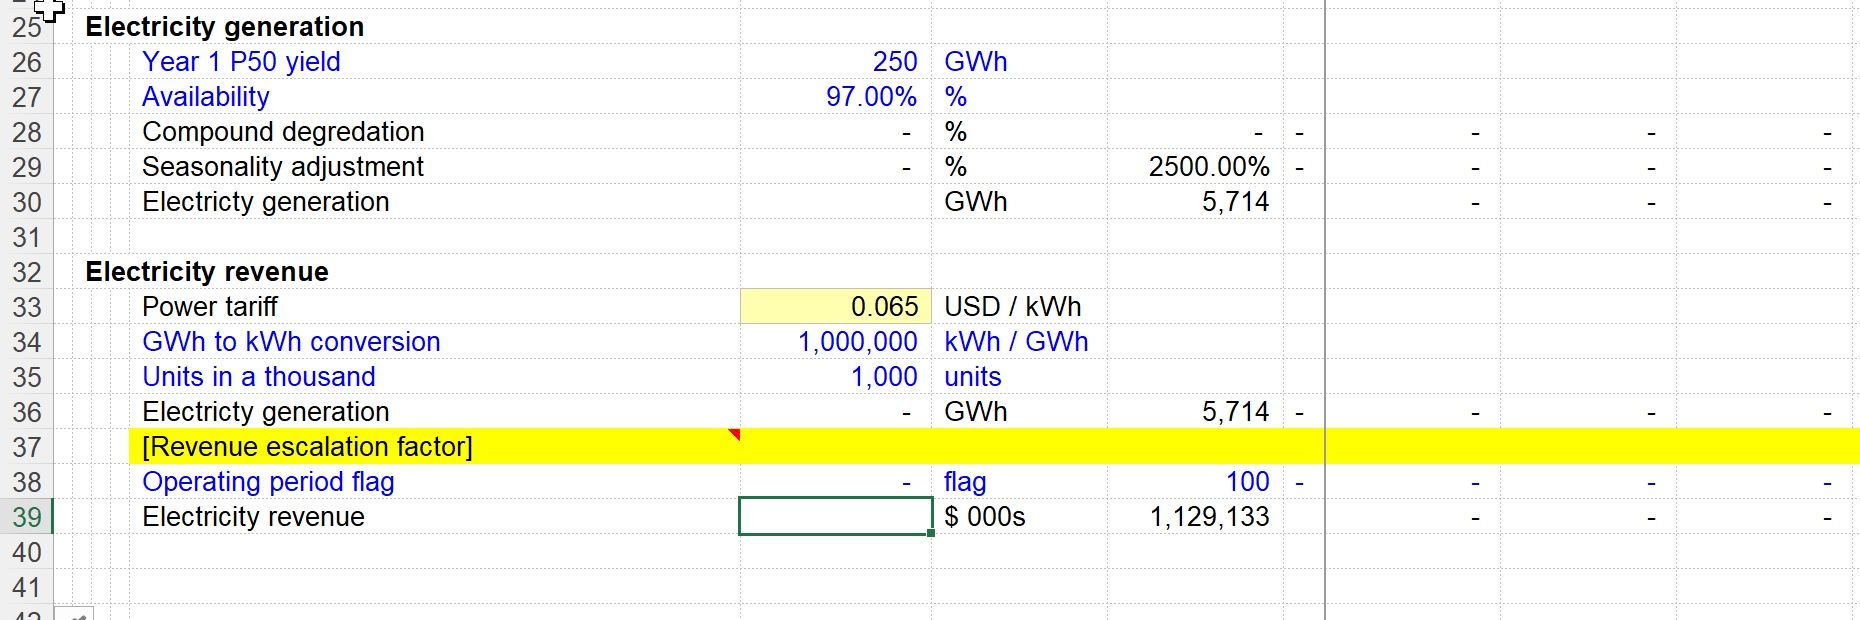
Step 9: Add a row total
Row totals provide useful information about each line item. I've frequently noticed errors in calculations because the row totals "didn't look right".
Row totals are only necessary on flows. Row totals on balances do not provide any helpful information and so we tend not to add them.
Use the Productivity Pack keystroke to add a row total:

Step 10: Add a sparkline (optional)
The previous steps in the process are all necessary to complete the calculation. Adding a sparkline provides some useful additional information and replaces doing a "quick chart" on each line item.
We have created a Productivity Pack macro for adding a sparkline to a time series calculation. In a calculation block where a time series calculation is being done, the constants column is always blank. We can therefore use this to add our sparkline.
First, select this column:
Then use the keystroke to add the sparkline:
See Section 3.1.17 on customising the sparkline.
Note that while you can put Sparklines anywhere you want in the model, the keystroke above will only work in the Constants column.
Step 11: Stop & test
Take a minute to check the numbers. Do the quantities match expectation? Try changing some of the ingredients and inputs that drive the calculation. Does the calculation react as expected? Does the row total make sense? It only takes a few minutes to do some quick tests, but it helps to reduce undetected errors later.
If you hear yourself saying, “I’ll come back and test this later”, be aware that this day rarely comes. Do it now.

Comments
Sign in or become a Financial Modelling Handbook member to join the conversation.
Just enter your email below to get a log in link.