Modelling accounts payable - solution
Let’s take a step by step walkthrough of copying the Accounts receivable logic and adapting it for Accounts payable.
Step 1: New Section heading
Using Column A as usual.
Step 2: Copy the Accounts Receivable logic
Use Skill 7: How to copy a calculation block.
In this instance, we will be copying a whole section with multiple calculation blocks.
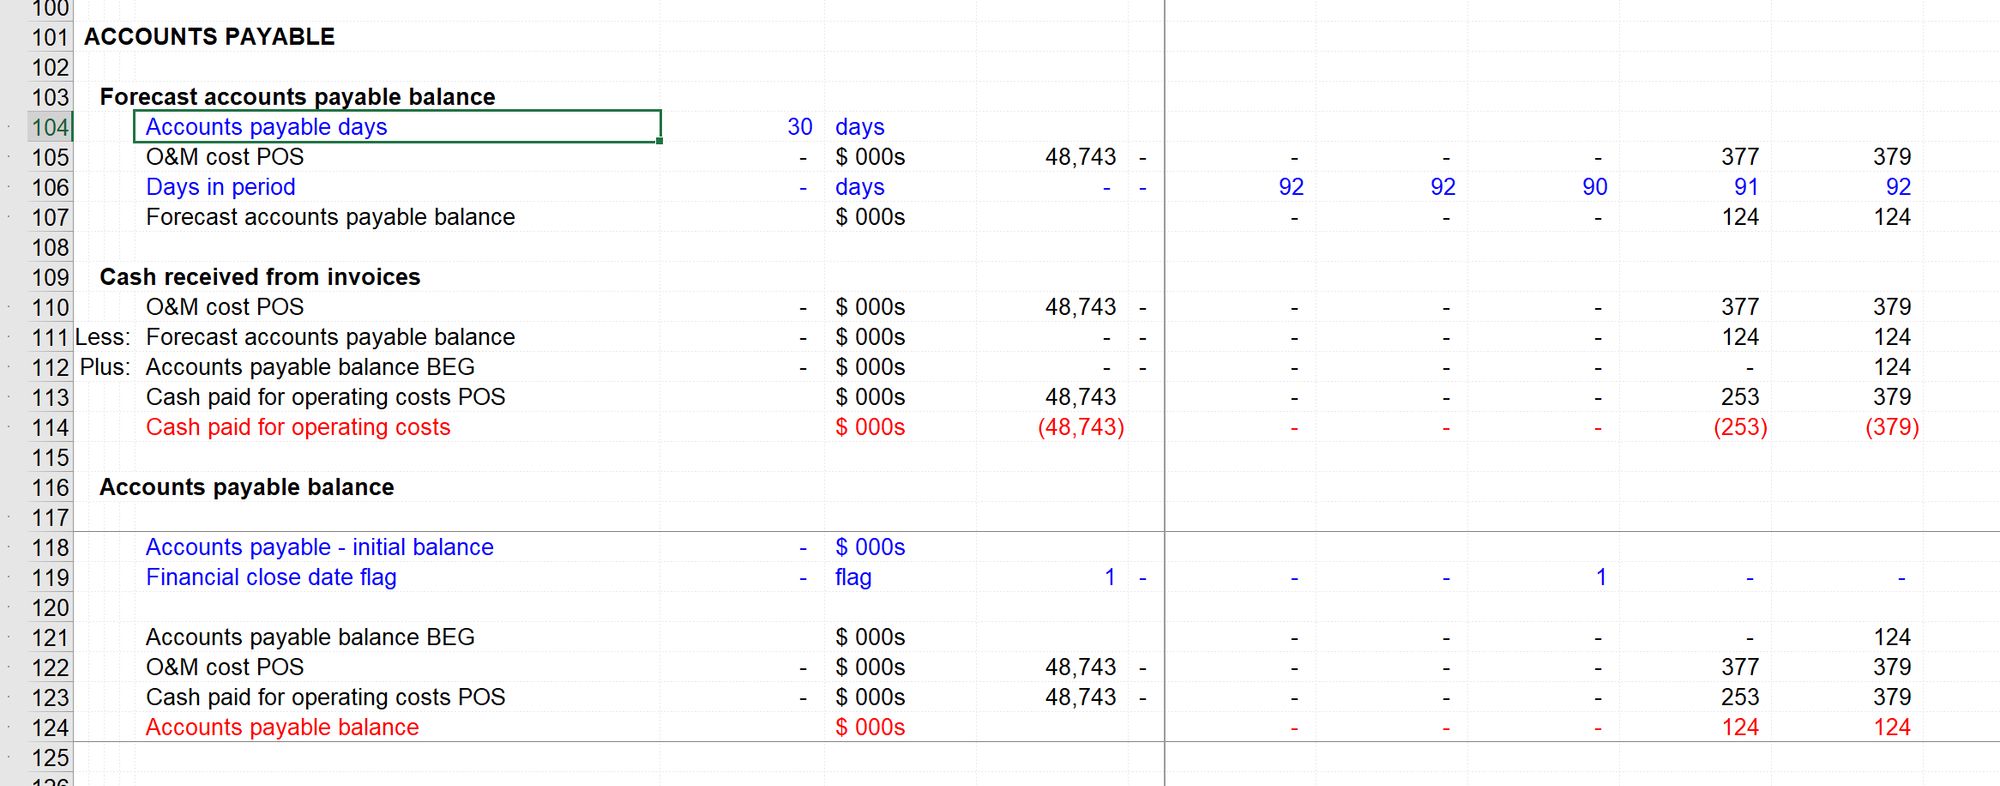
First, we select the entire section:
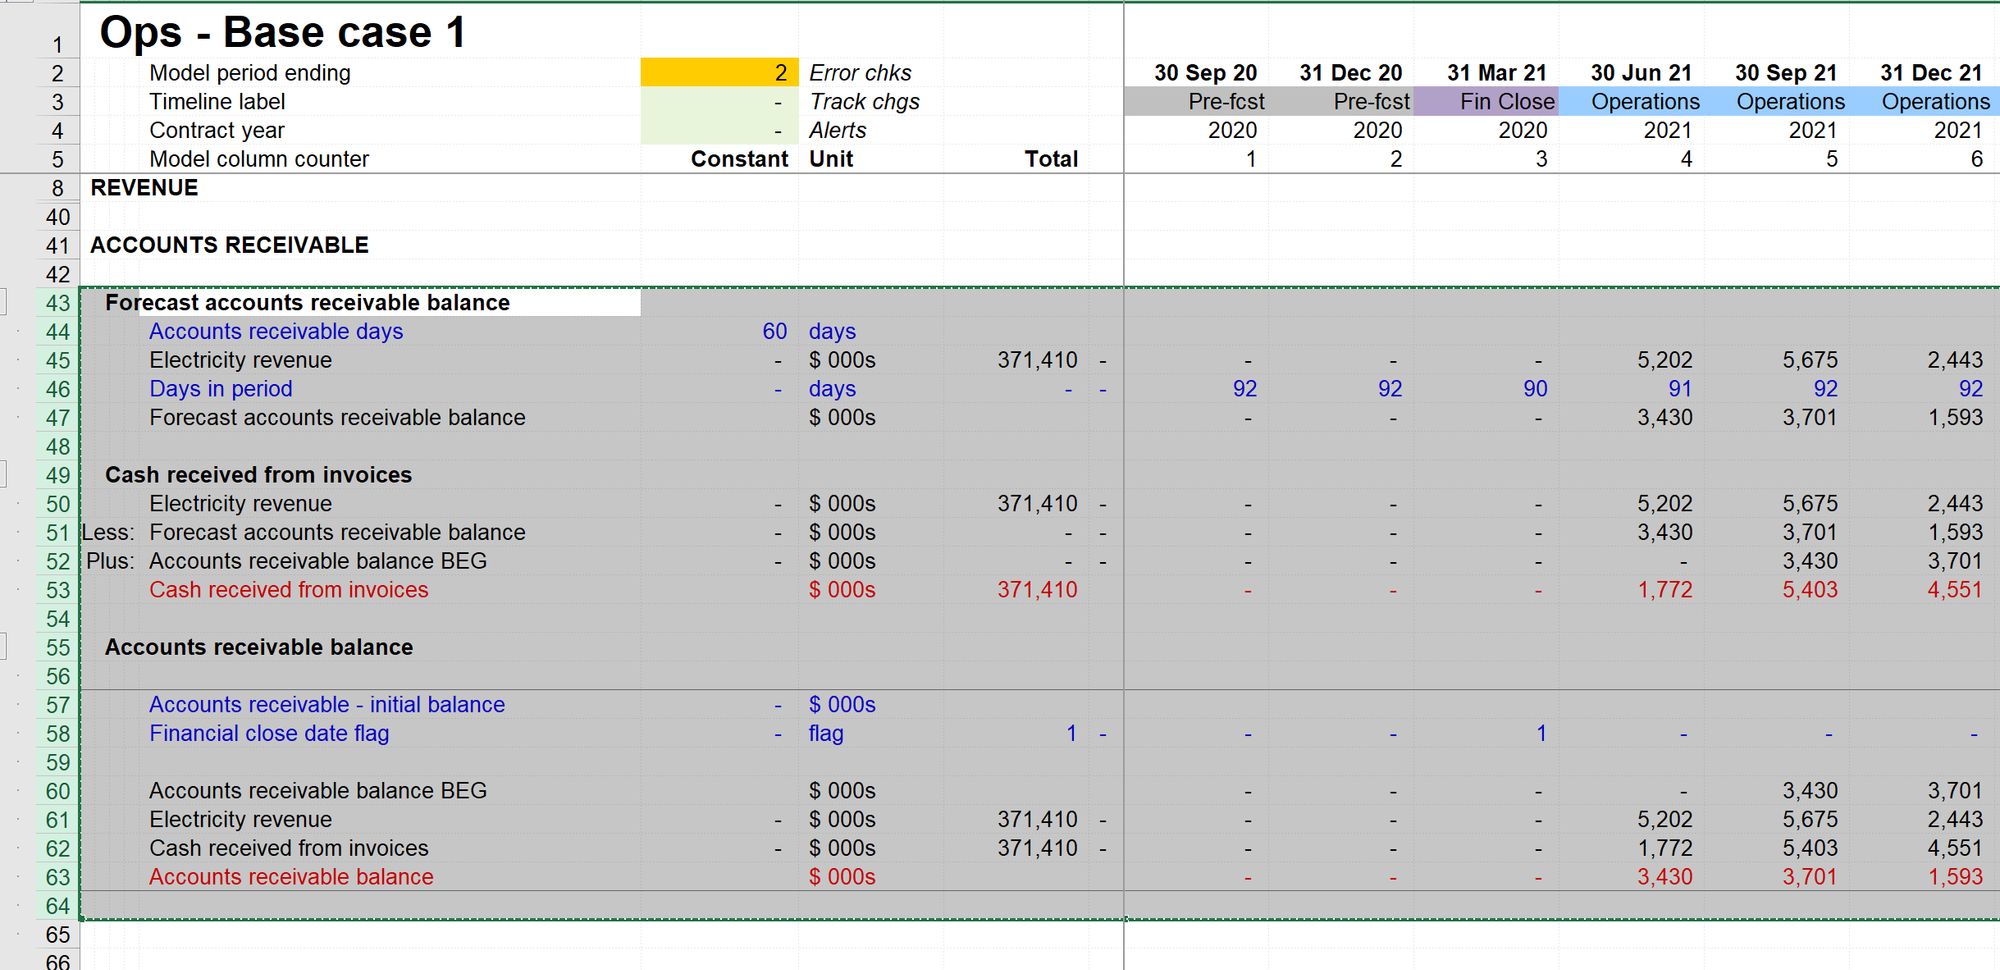
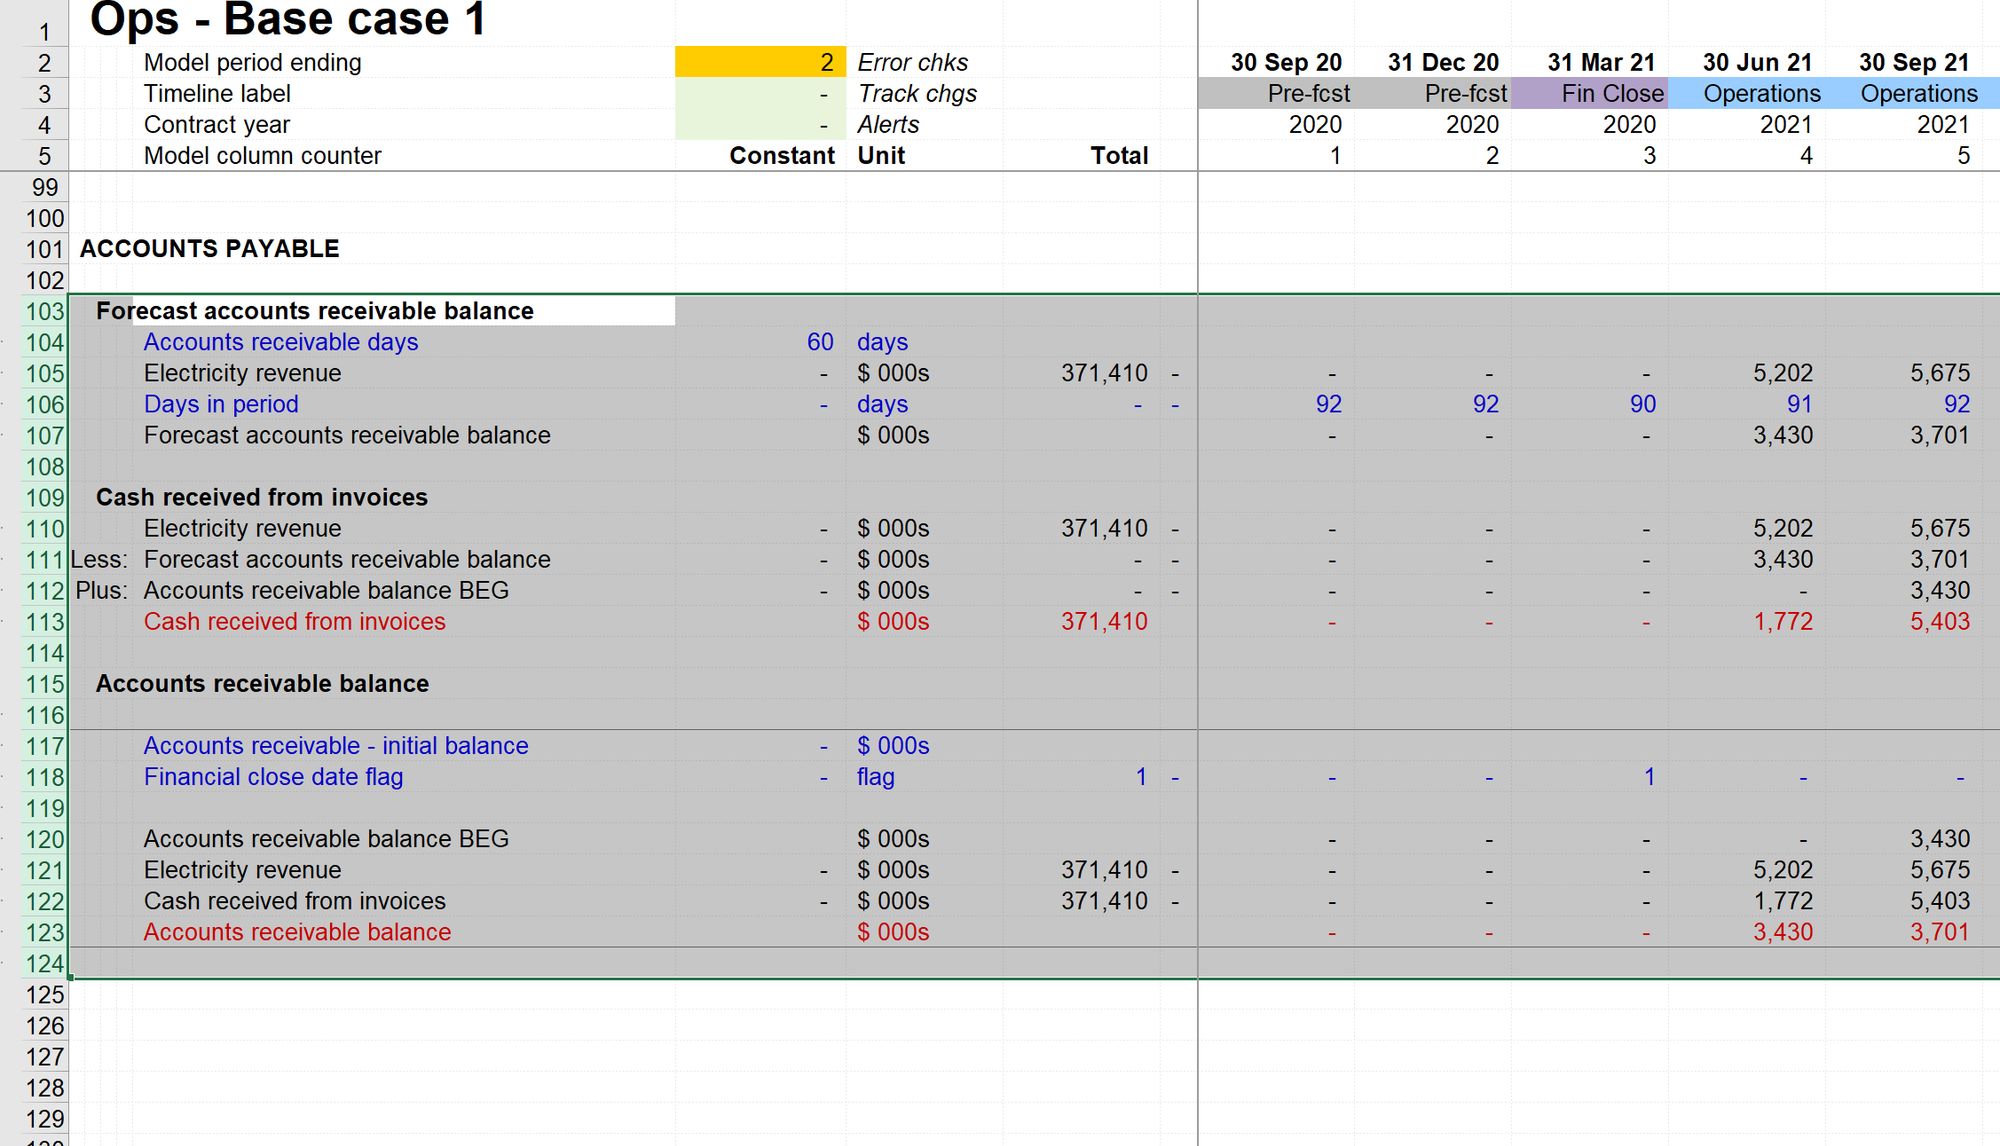
Then we paste it down into our new Accounts Payable Section.
Note that we don't have enough space in the section. Therefore, we can Paste down the blocks that we have copied and create sufficient new rows. First, select the row, then paste and create rows using Ctrl+Shift+=.
Step 3: Replace labels
Leaving the rows selected, for now, we can quickly replace the text labels:
Ctrl+h to open the "find and replace" dialogue.
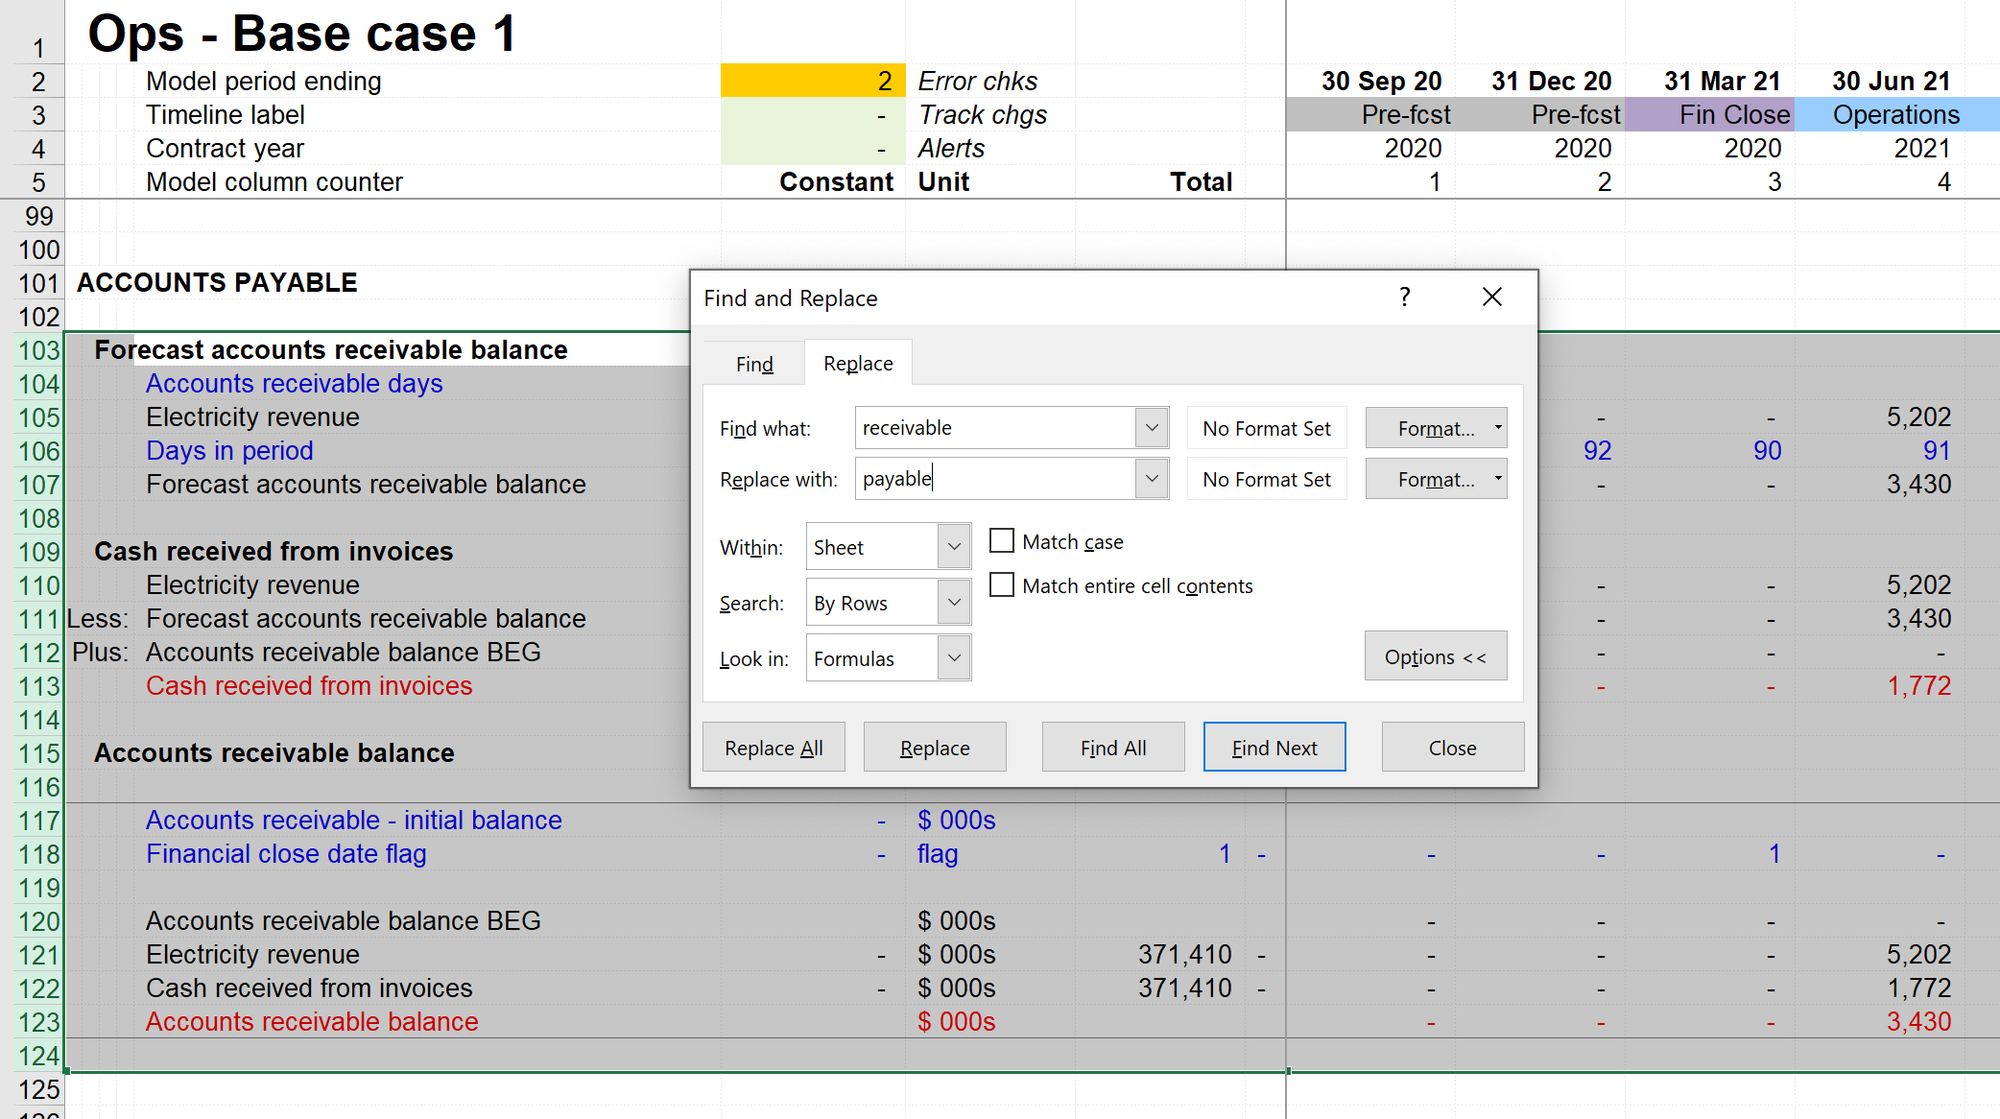
Then replace "receivable" with "payable".
If the rows are still selected, we will only run the search and replace on the selected rows.
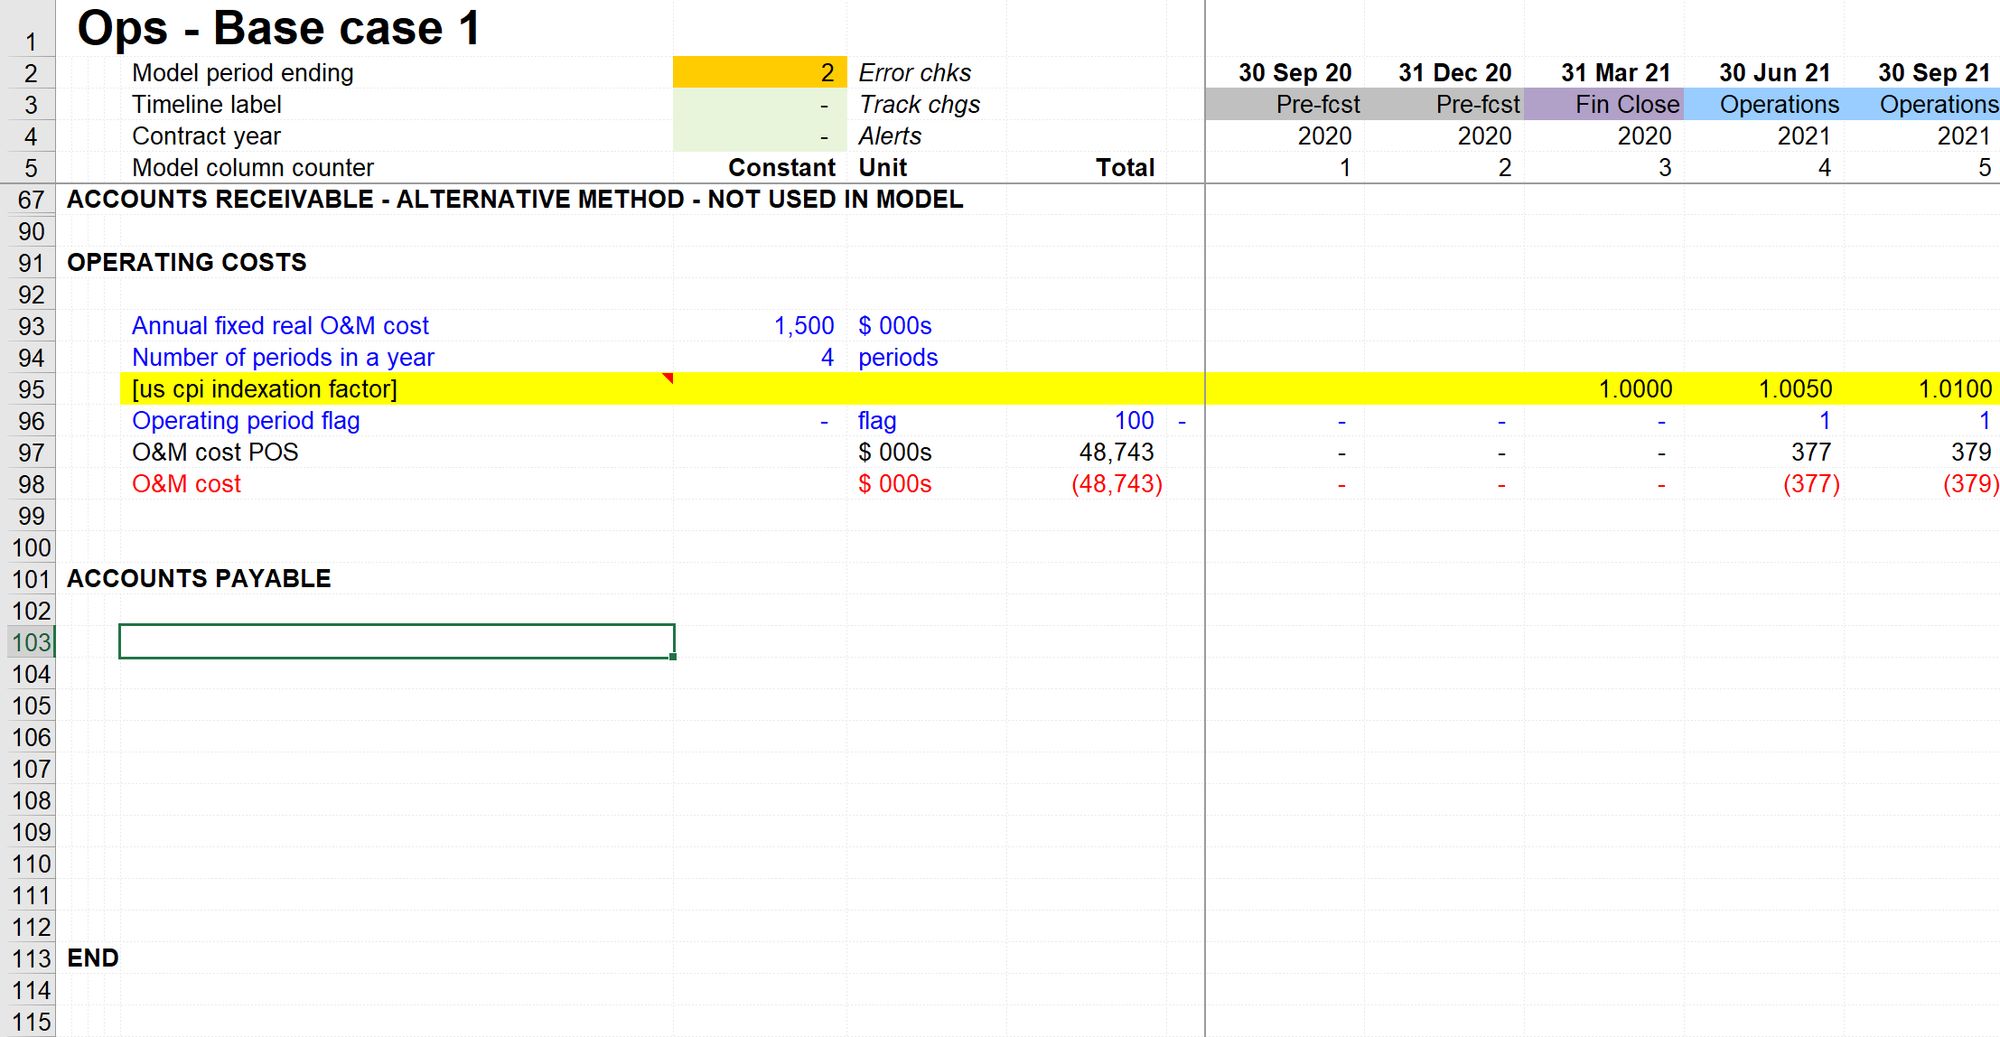
Step 4: Review line items
We will need to make quite a few line-item replacements.
I have marked each line that I will need to change with an ugly green shade (Ctrl+Shift+r).
This is a valuable step since it's common to be interrupted. And when I come back, I'll know that I still have line items to replace.
Step 5: Replace line items
The calculation structure is good; we just need to replace the links.
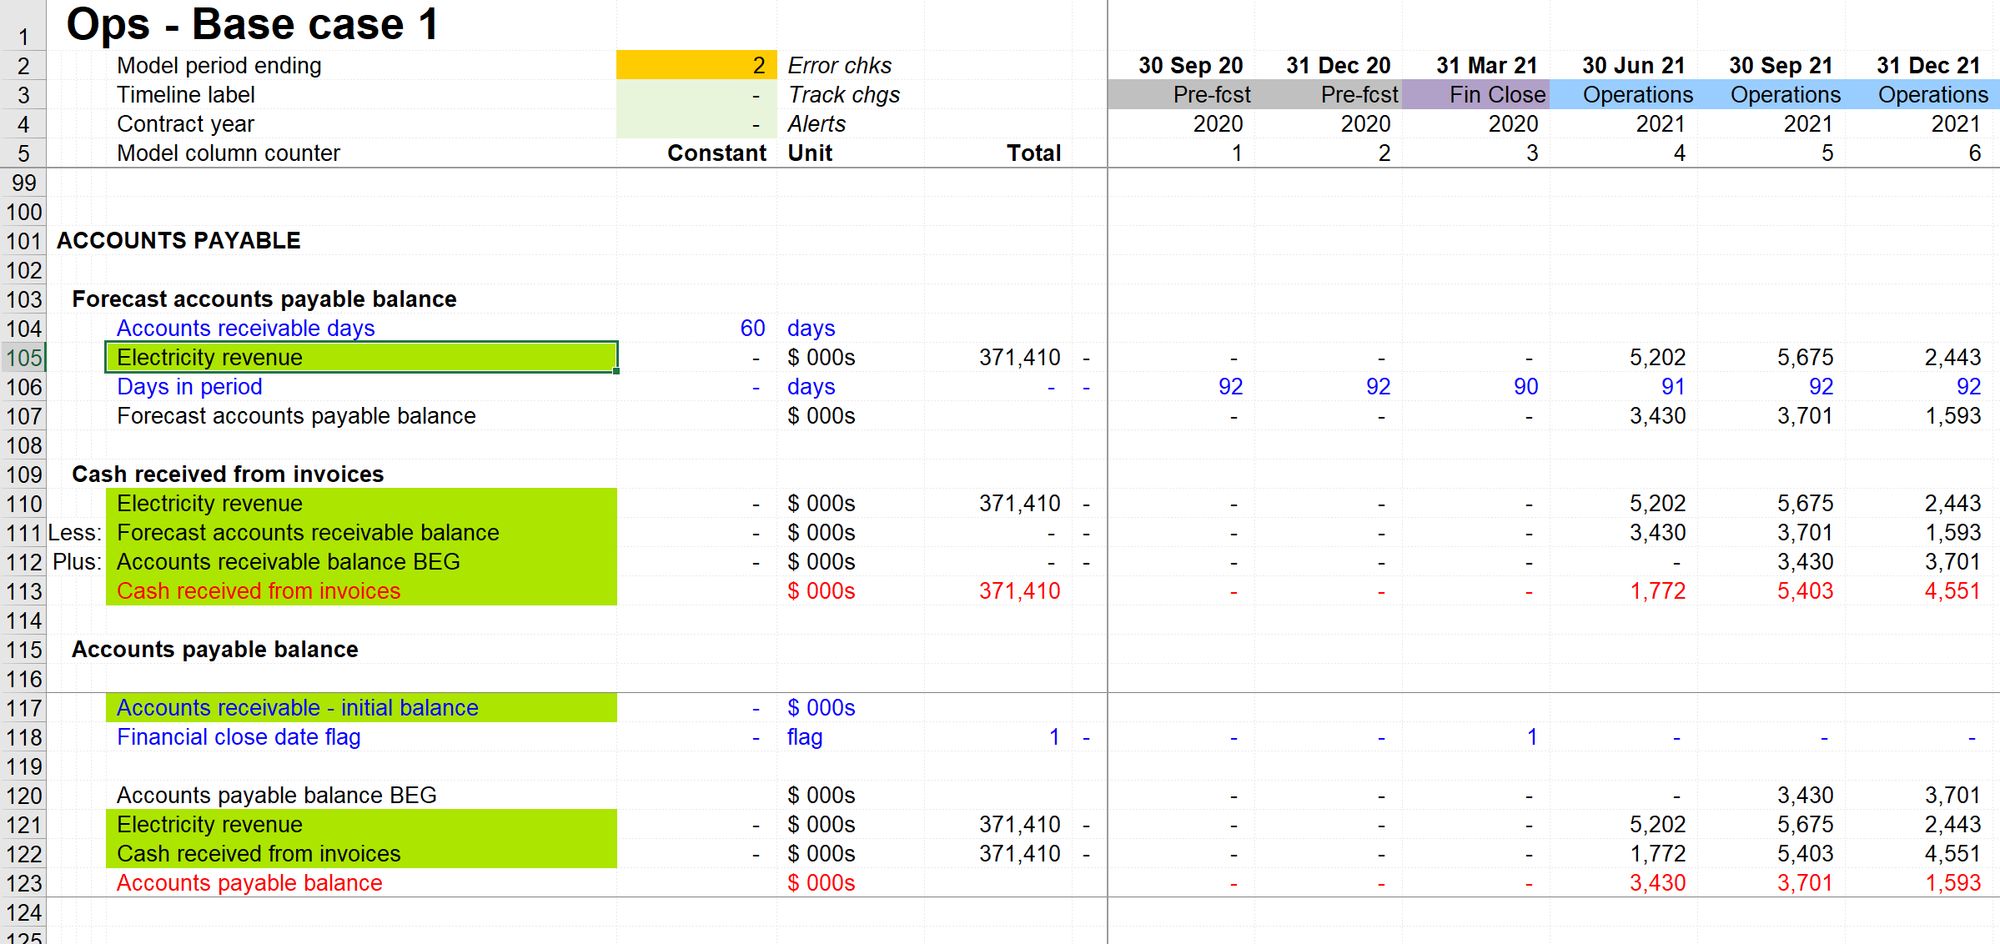
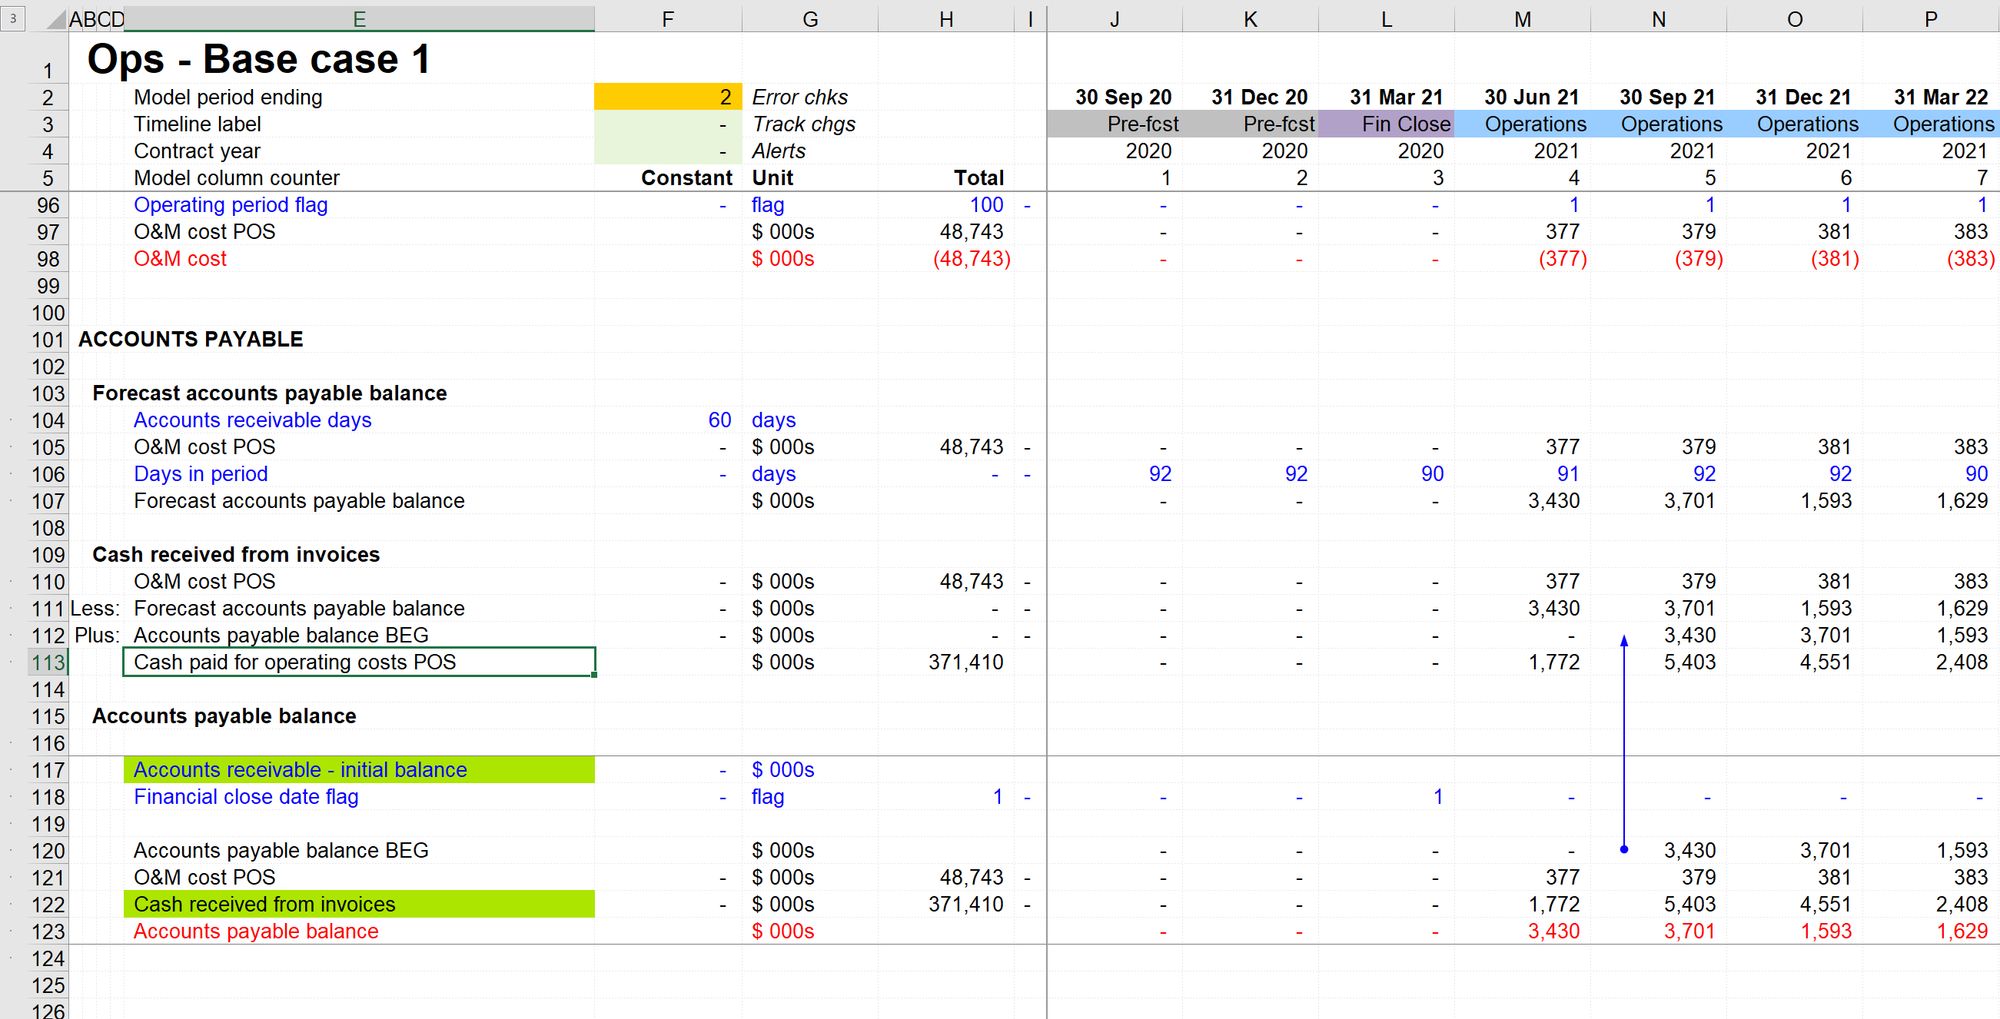
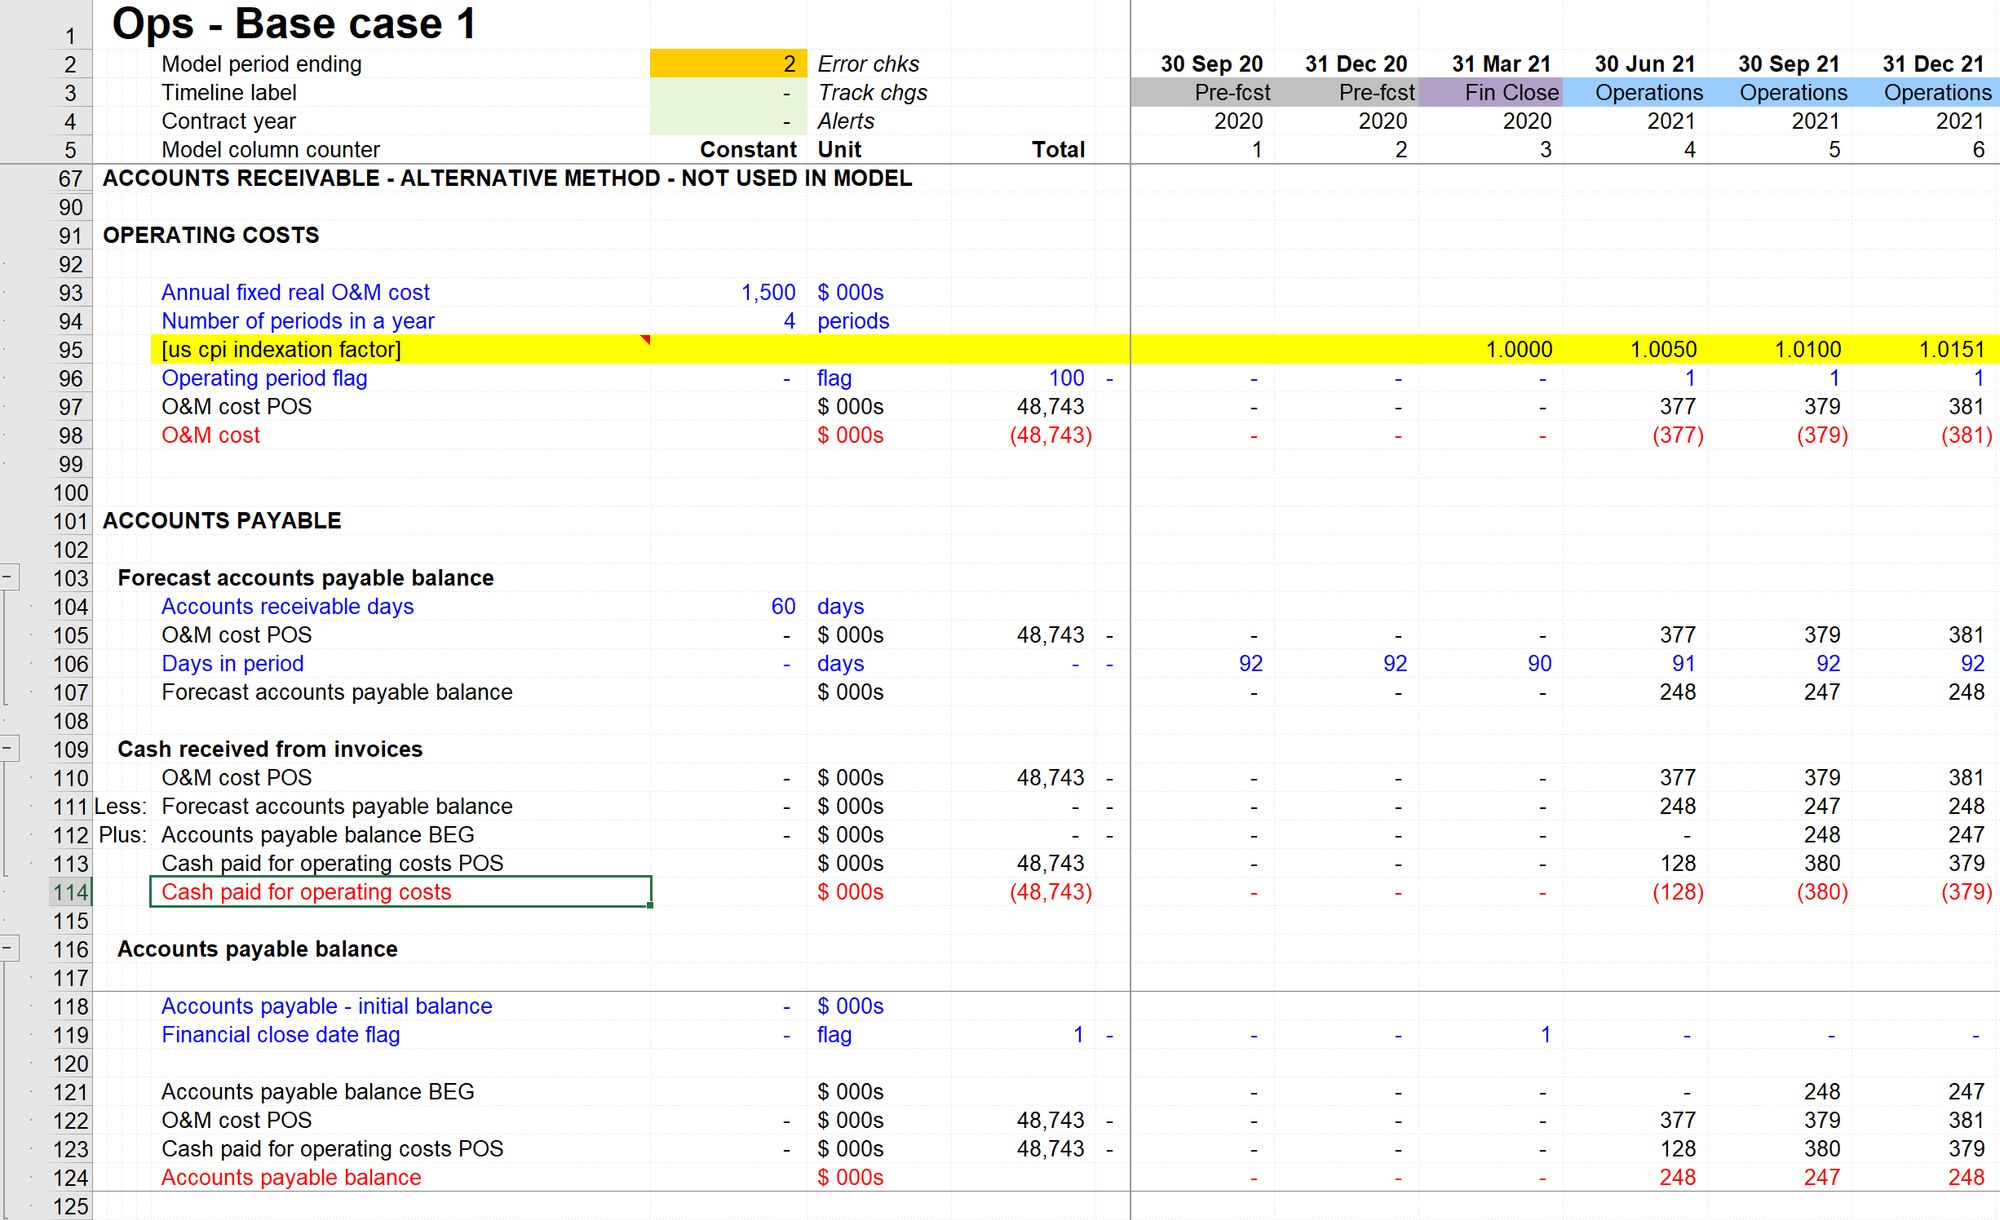
Replace the link to Electricity Revenue in Row 105 with a link to O&M cost
Use Skill 2: How to create a link.
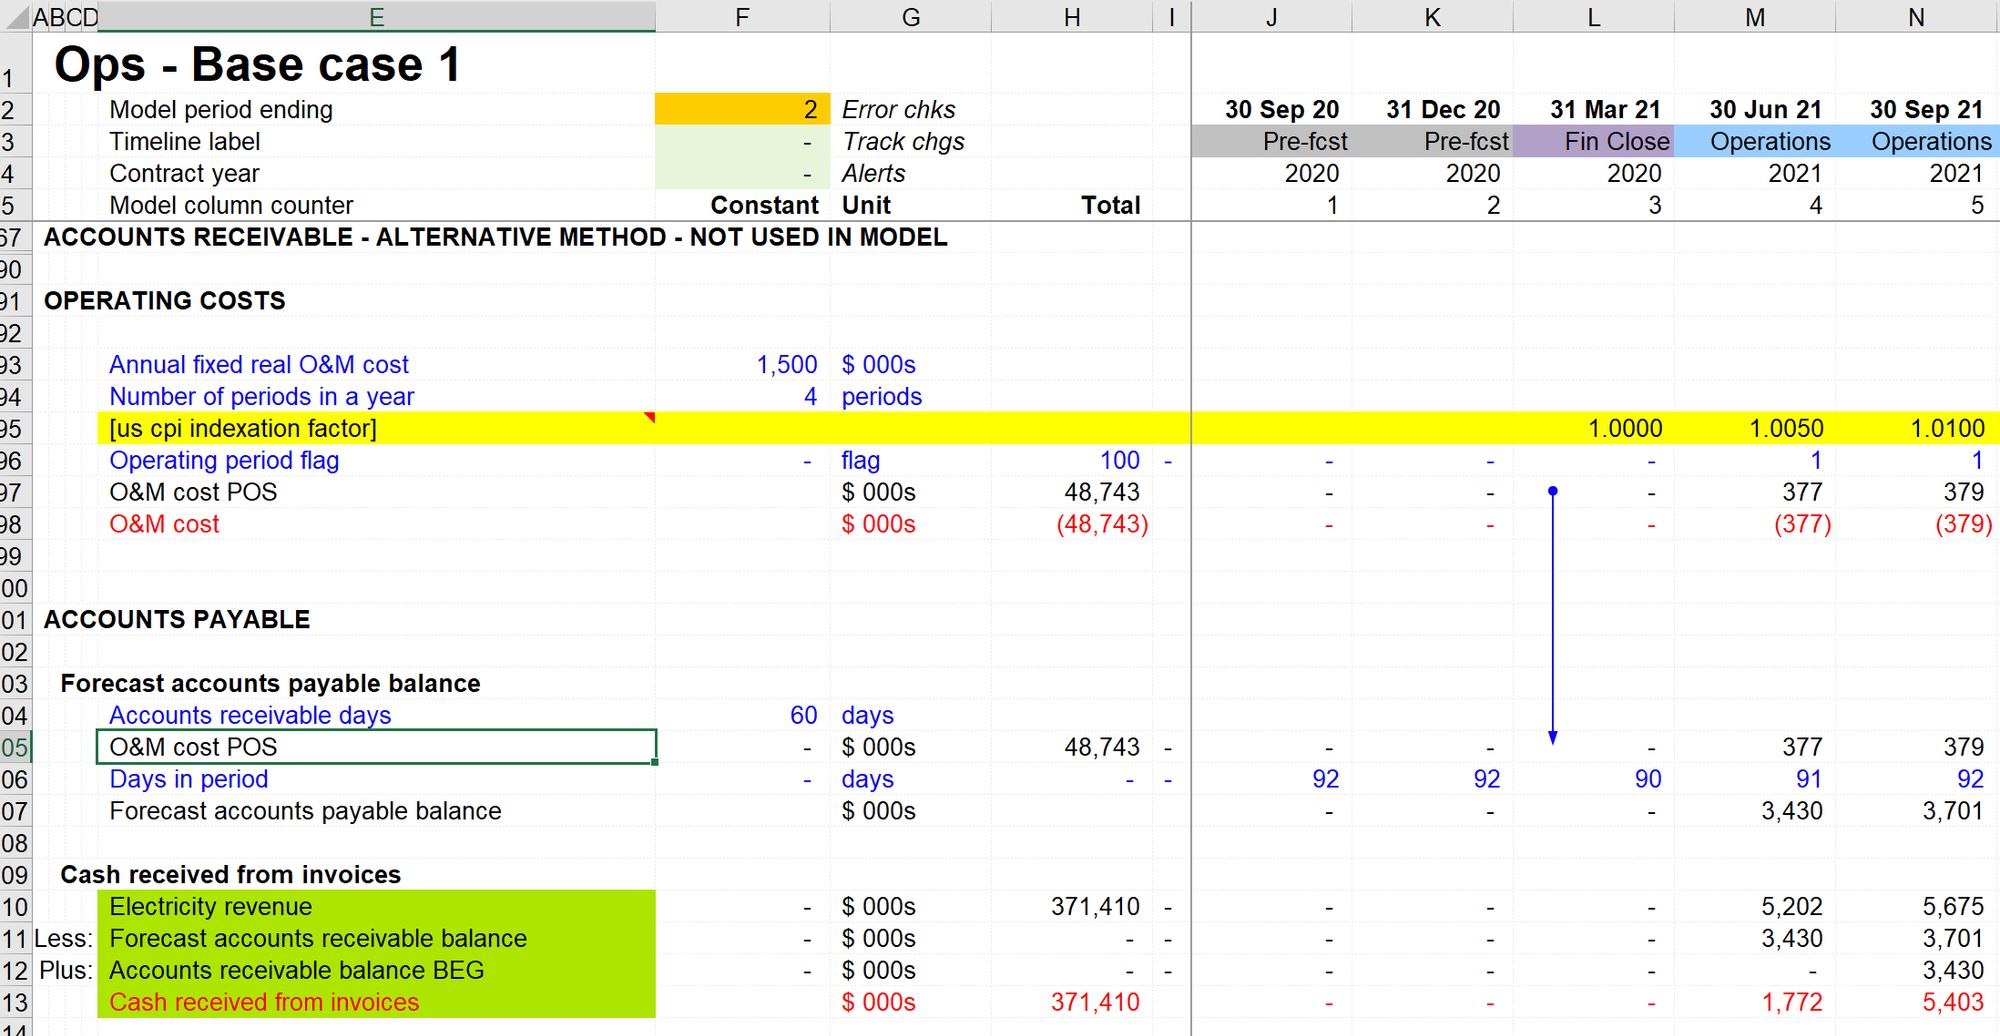
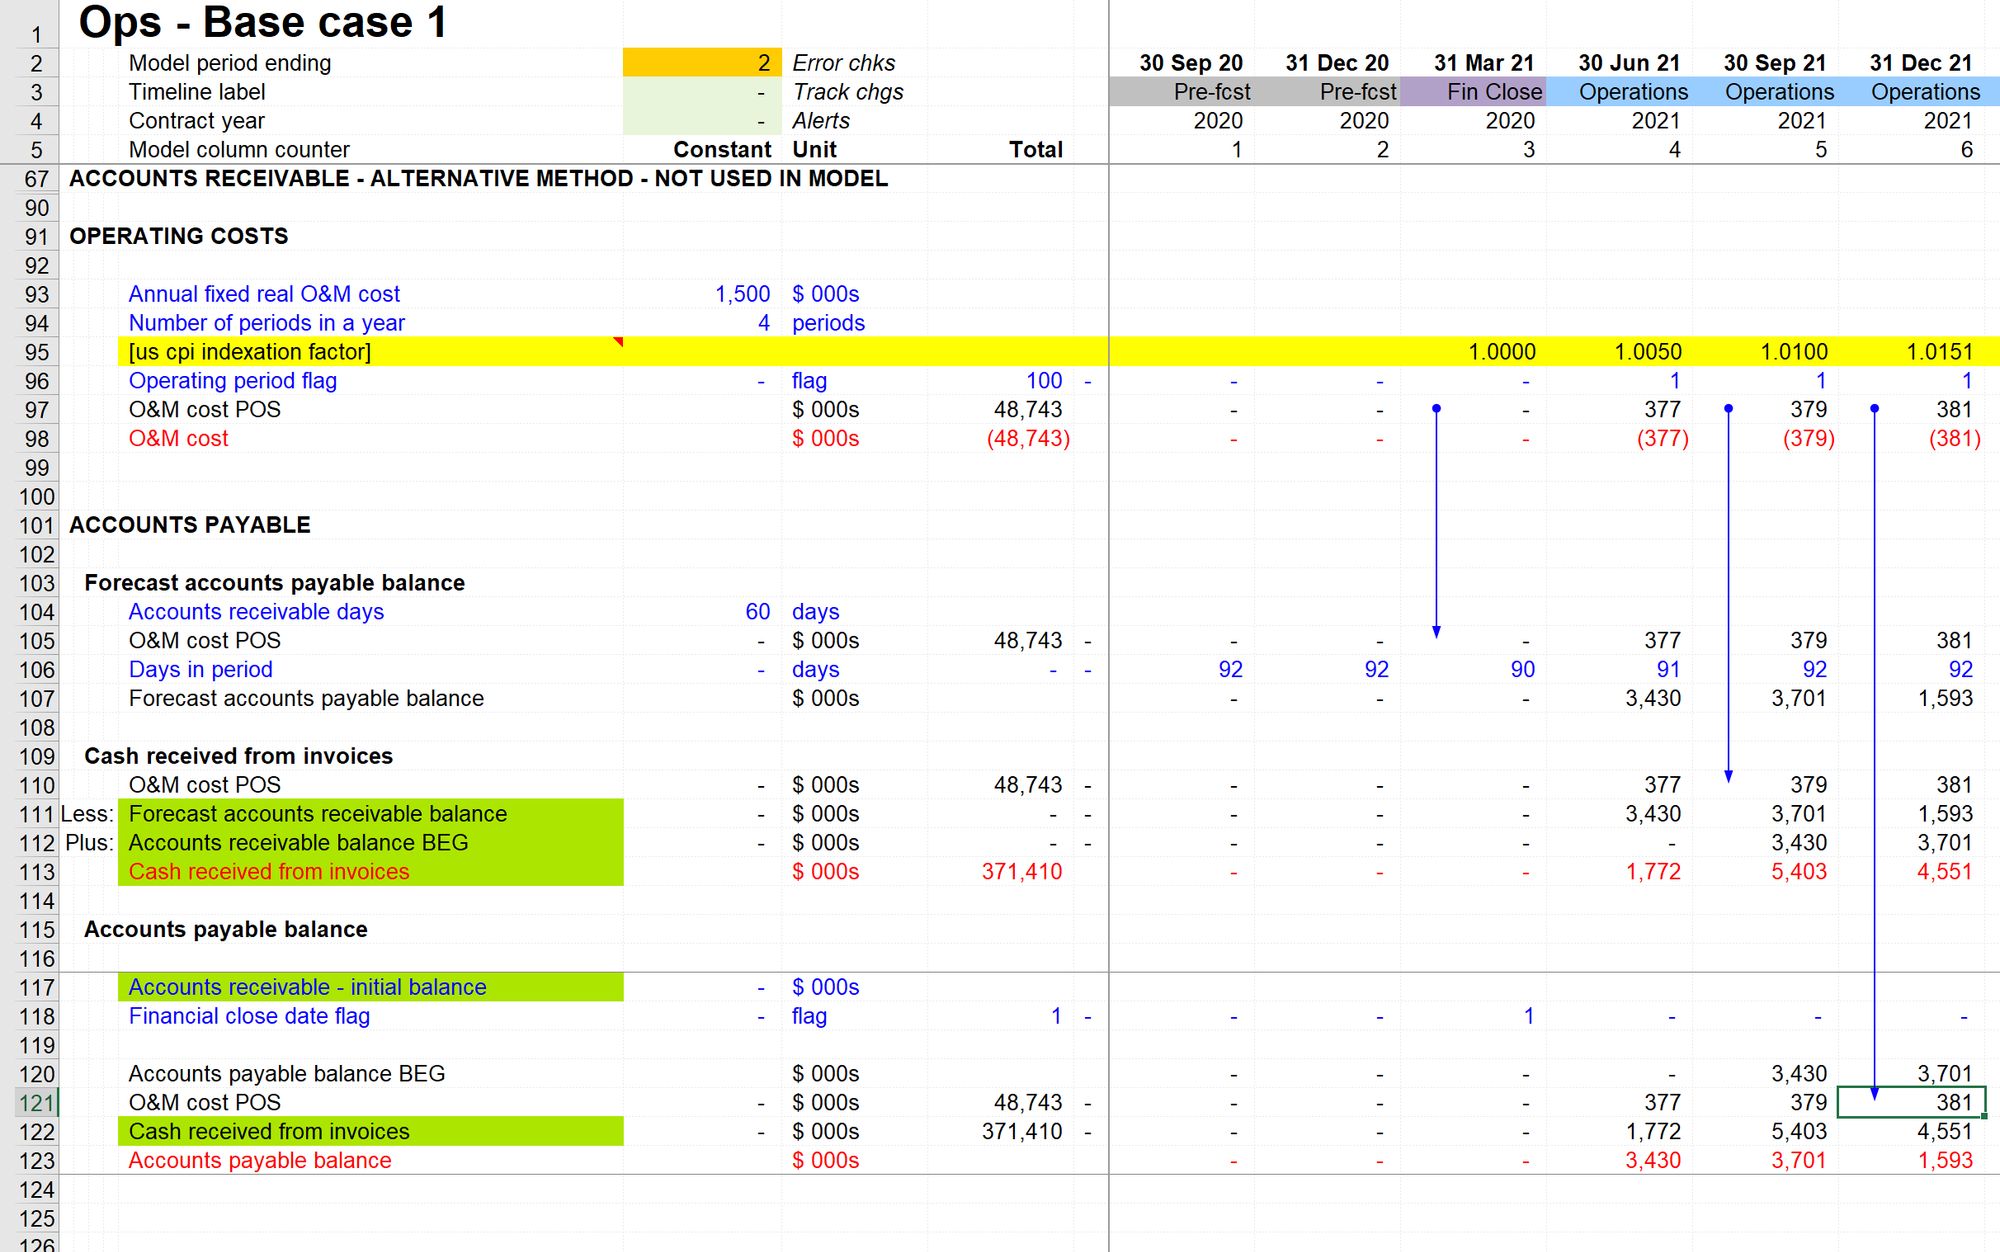
Replace the links to Electricity Revenue in rows 110 and 121 with links to O&M cost.
Use Skill 4: How to copy a link
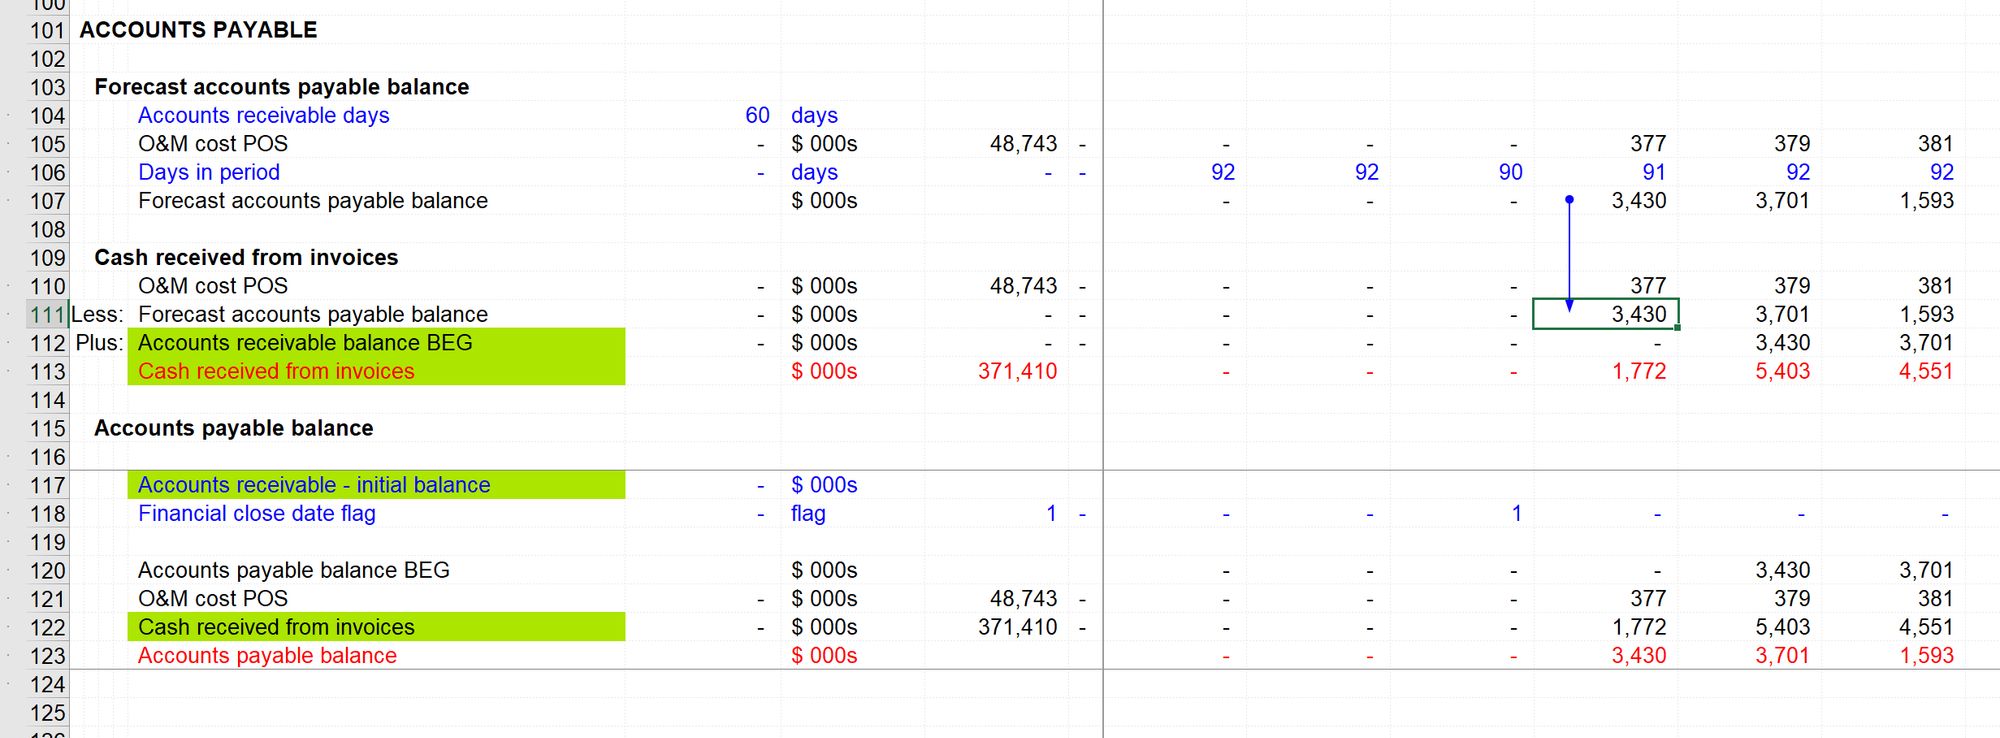
Replace the link to "Forecast accounts receivable balance" in row 111 with a link to "Forecast accounts payable balance."
Replace the link to "Accounts receivable balance BEG" in row 112 and with a link to Accounts payable balance BEG" from the new corkscrew.
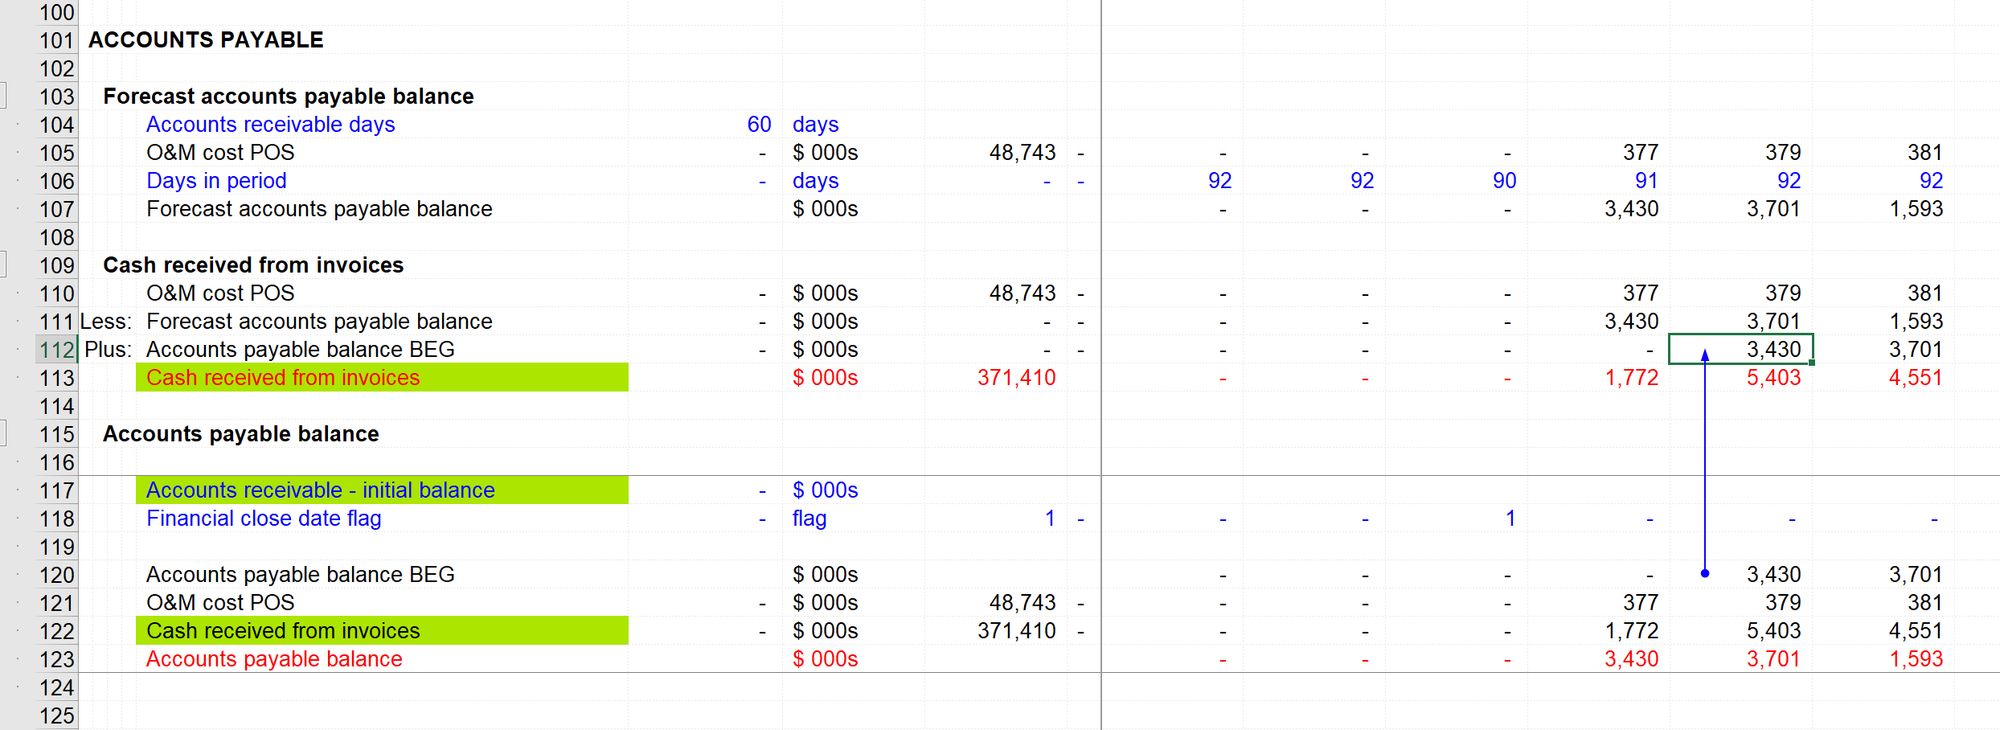
Re-label "Cash received from invoices" to "Cash paid for operating costs POS".
We will sign switch this, so it's worth adding the POS already now. Since it will be sign-switched, the positive version will not be the line item exported to the cash flow statement. We should therefore remove the export marking - select the row (Ctrl+spacebar) and apply black font (Ctrl+Shift+b)
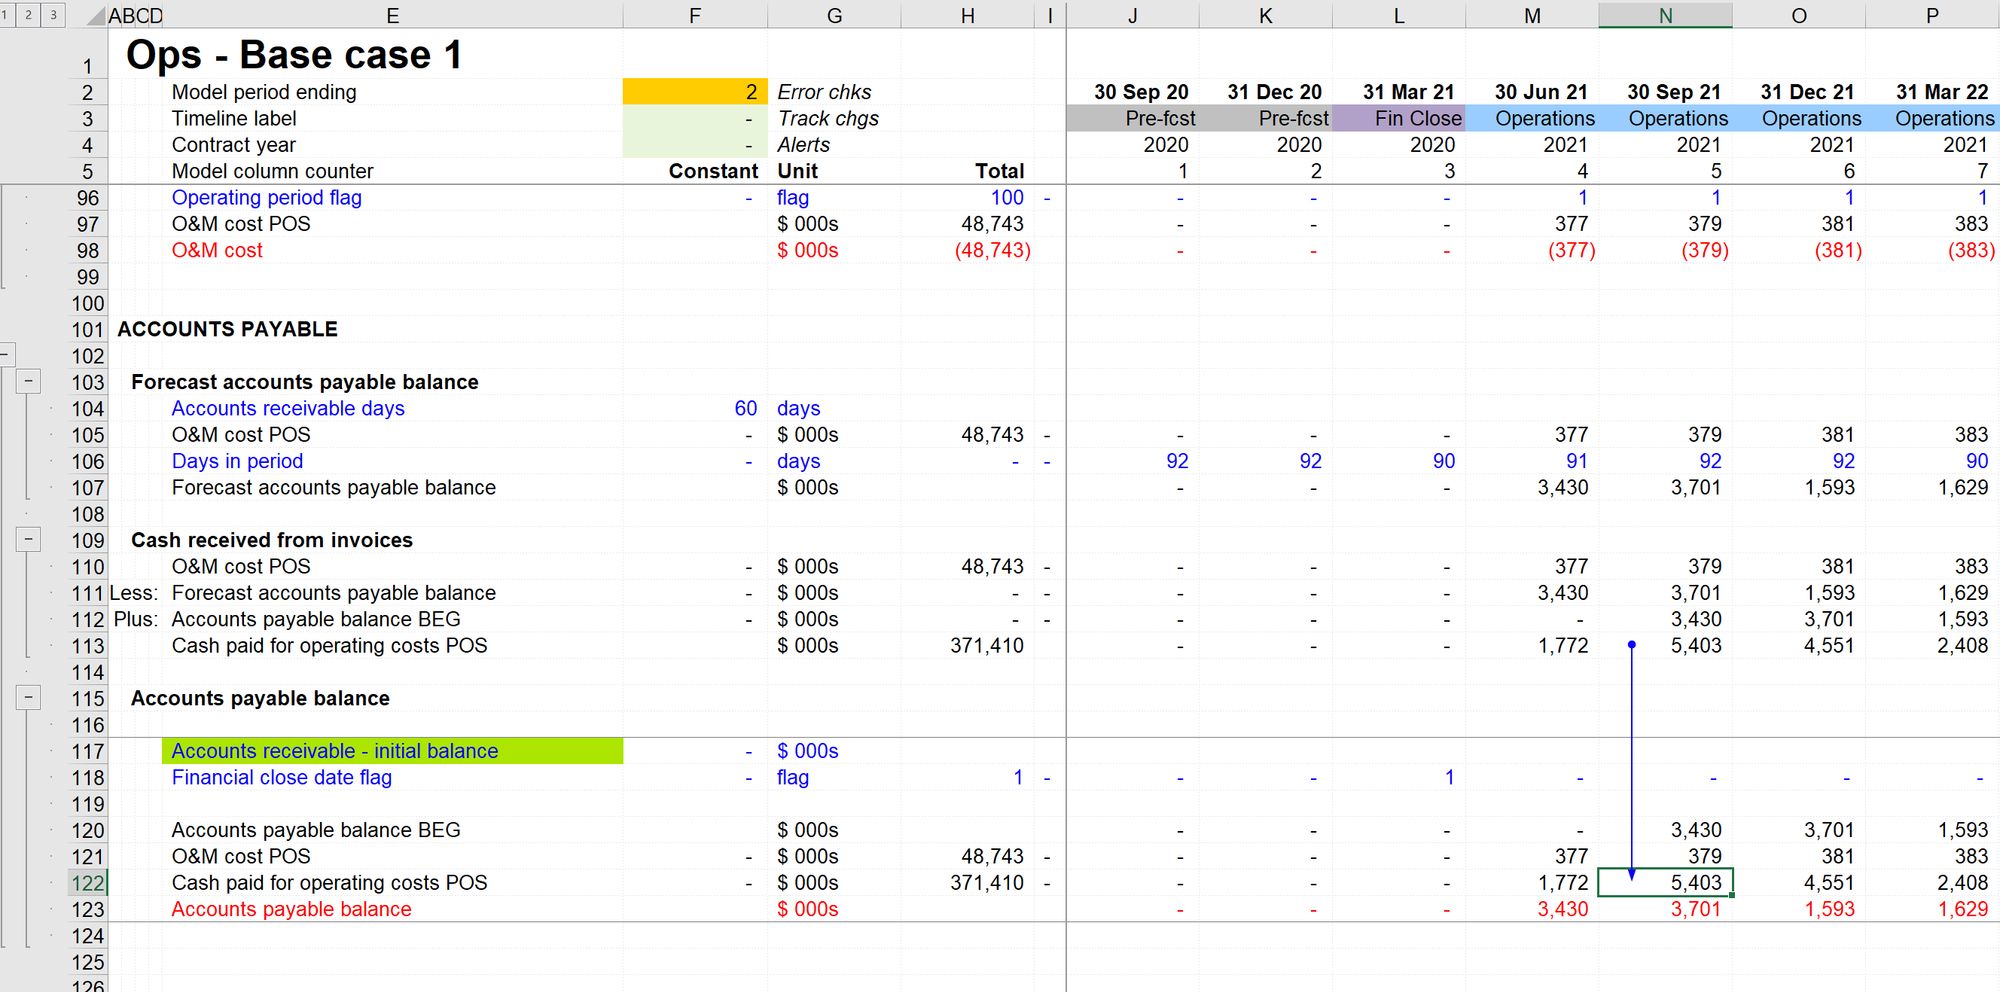
Relink the download flow in the corkscrew to "Cash paid for operating costs POS."
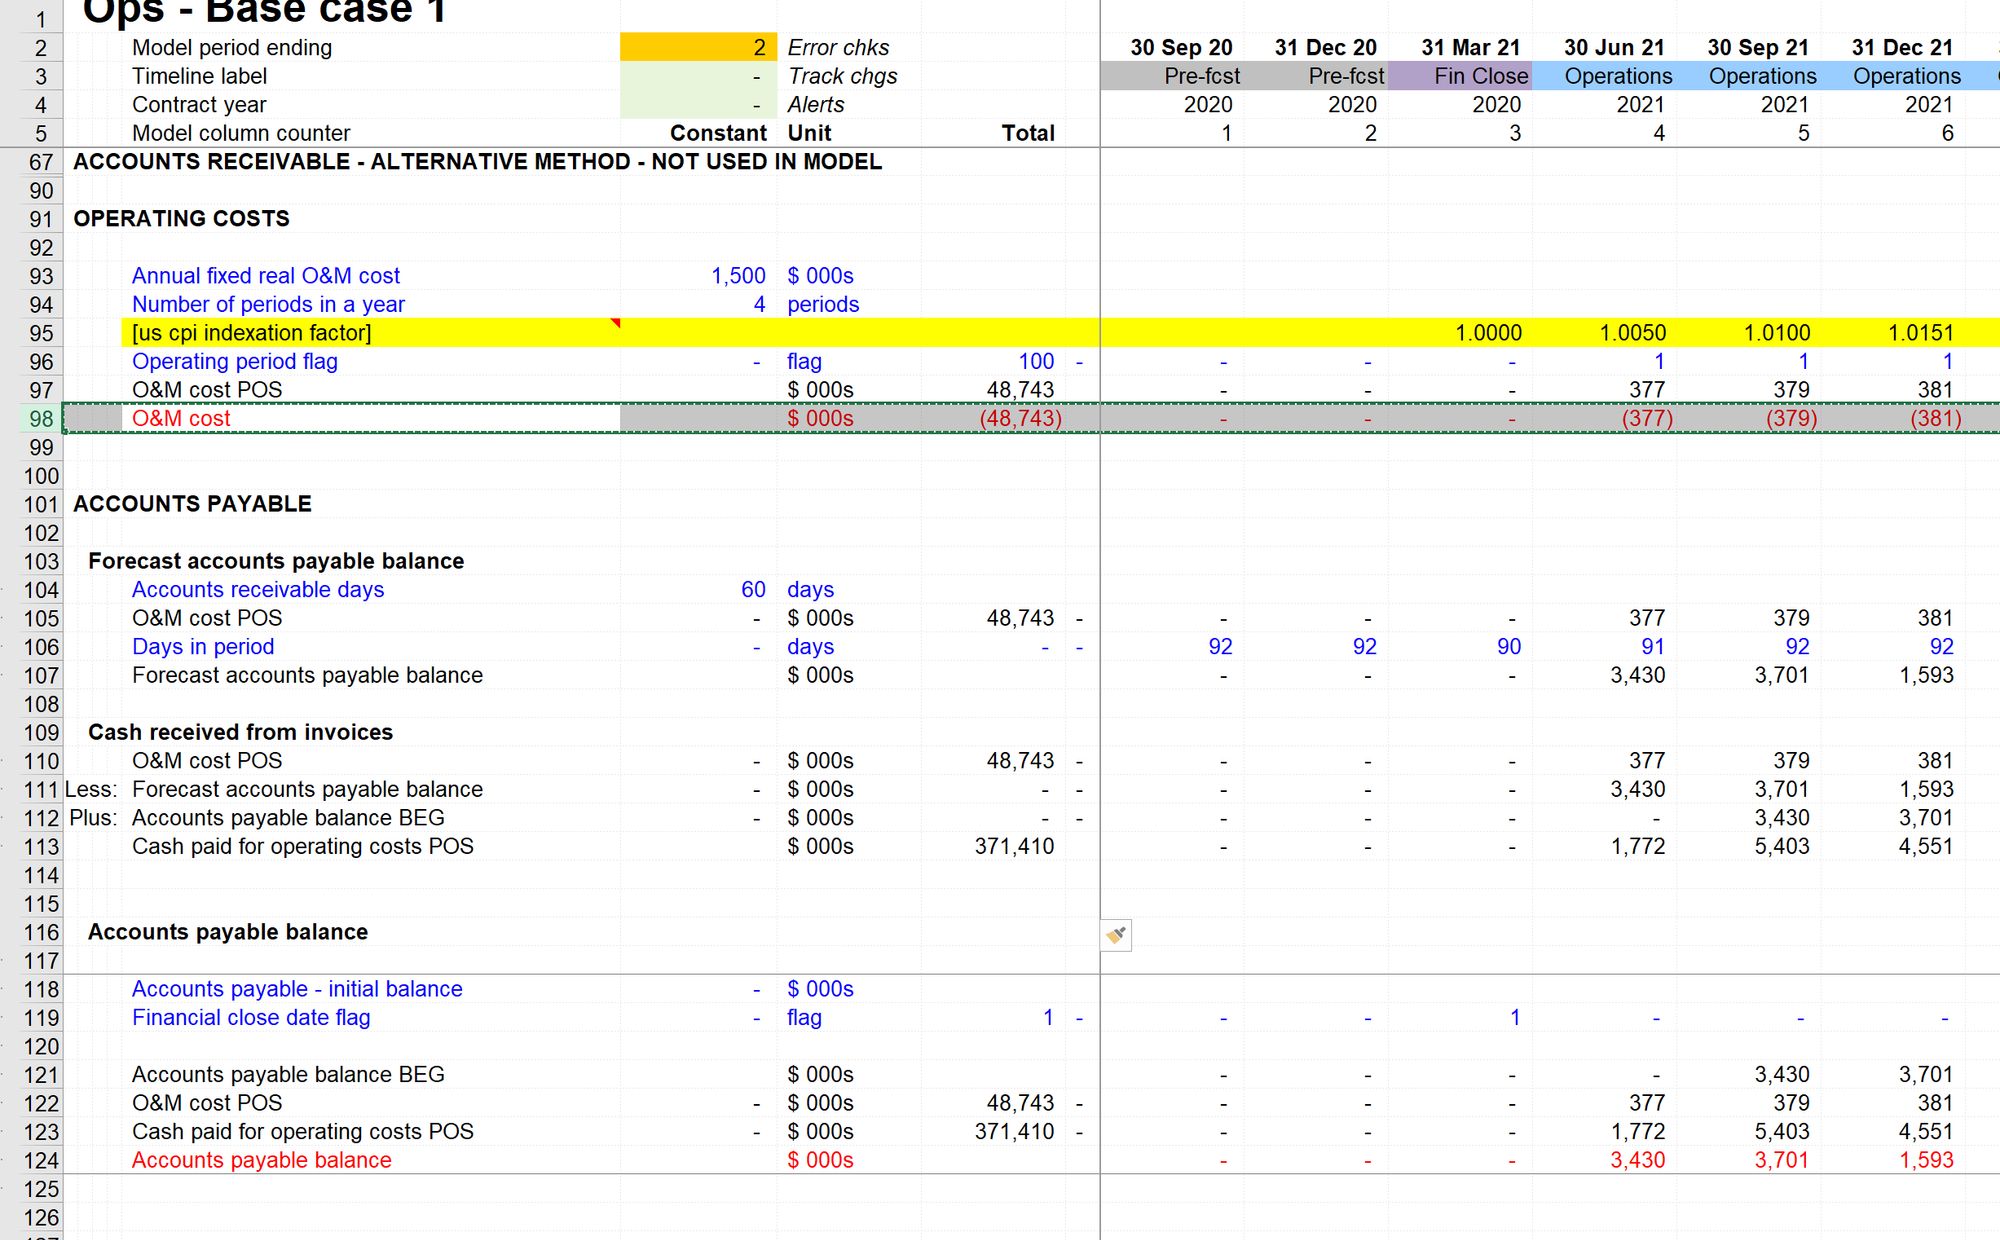
Create a new input on the input sheet for Accounts payable - initial balance
Then relink the new input into the corkscrew.

We have systematically reviewed the calculation structure line by line and replaced all the ingredients.
Before wiring this calculation into our financial statements, the last step is to sign-switch the Cash paid for operating costs.
The quickest way to do this is to copy the sign switch line above for O&M costs:
Don't forget a quick Shift+F9 refresh, or the label will still read "O&M cost".
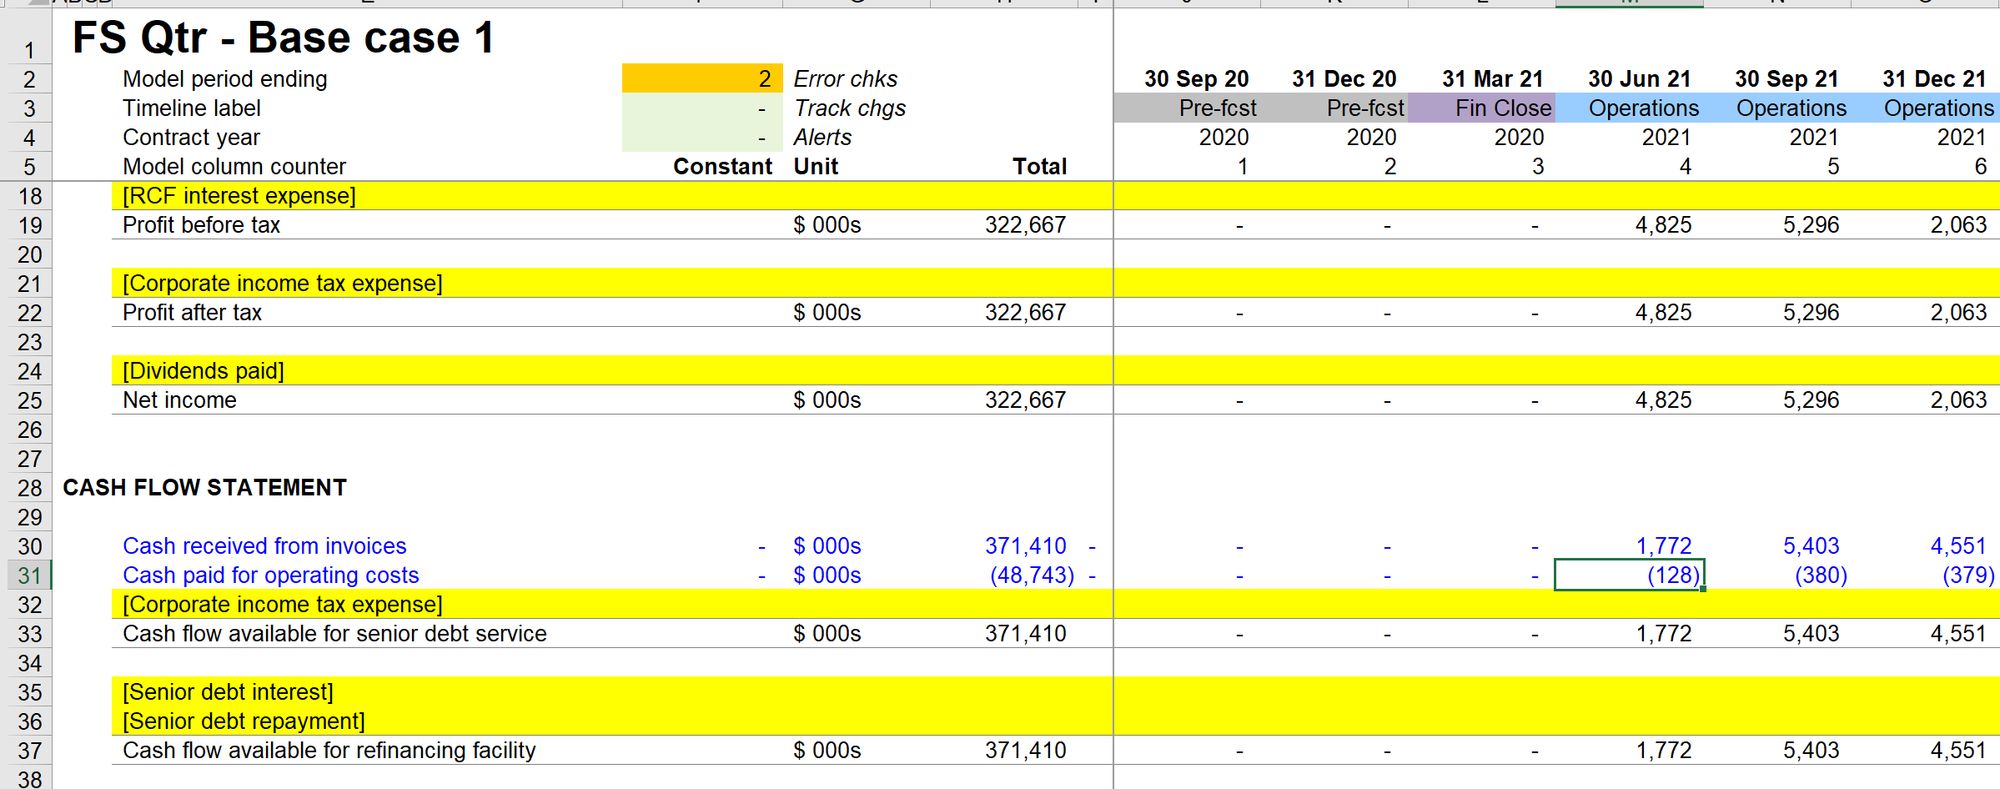
We are now ready to add Cash paid for O&M costs to the cash flow statement:
And accounts payable to the balance sheet:
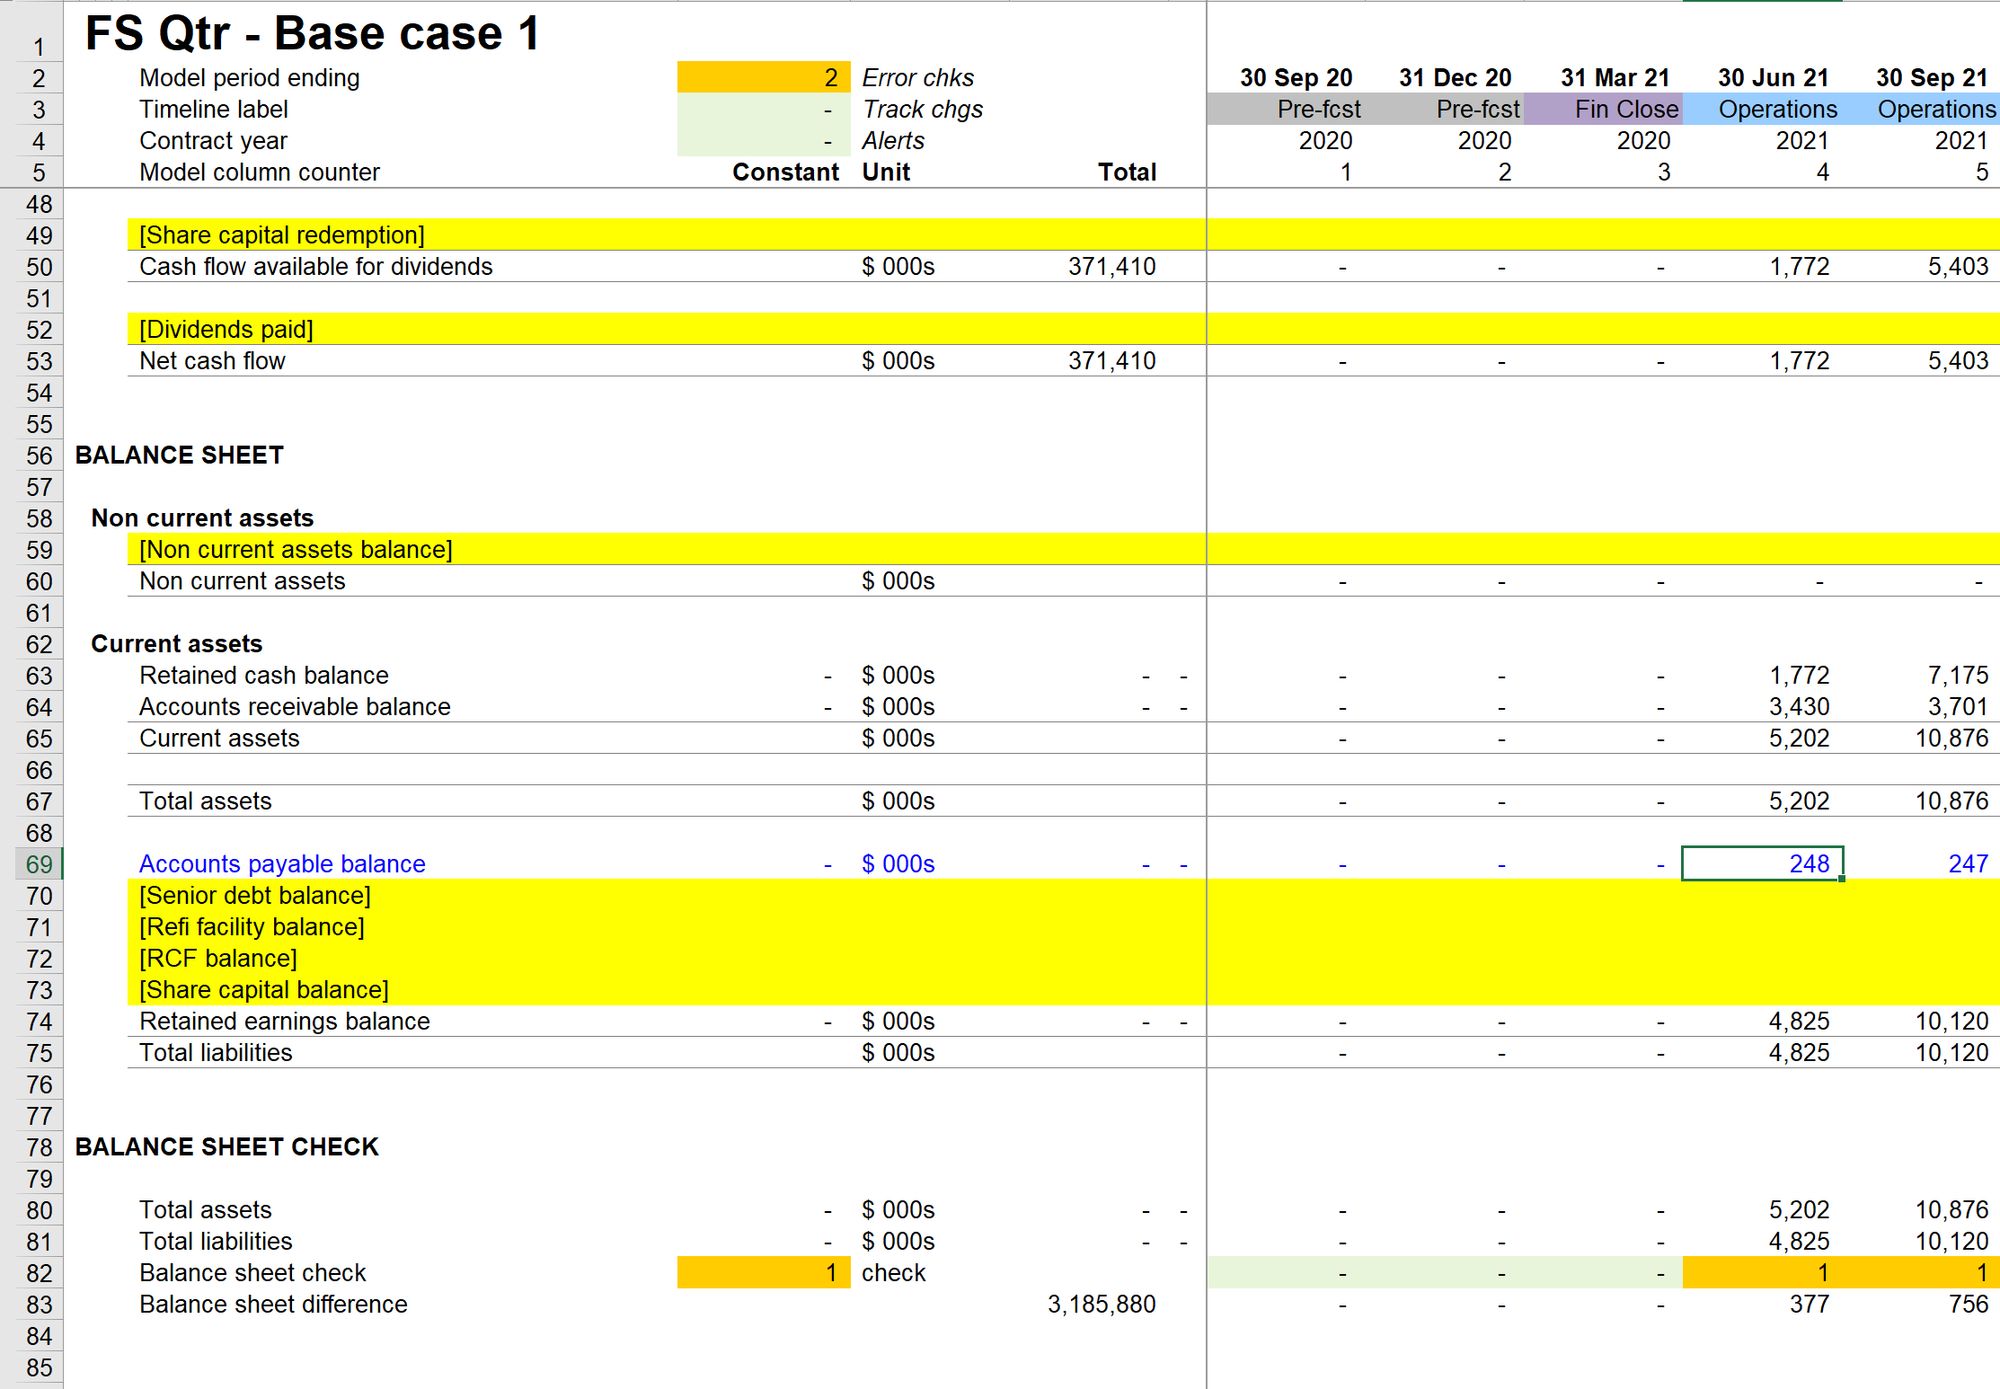
The balance sheet will still show as not balancing until we do a complete recalculation of the model:
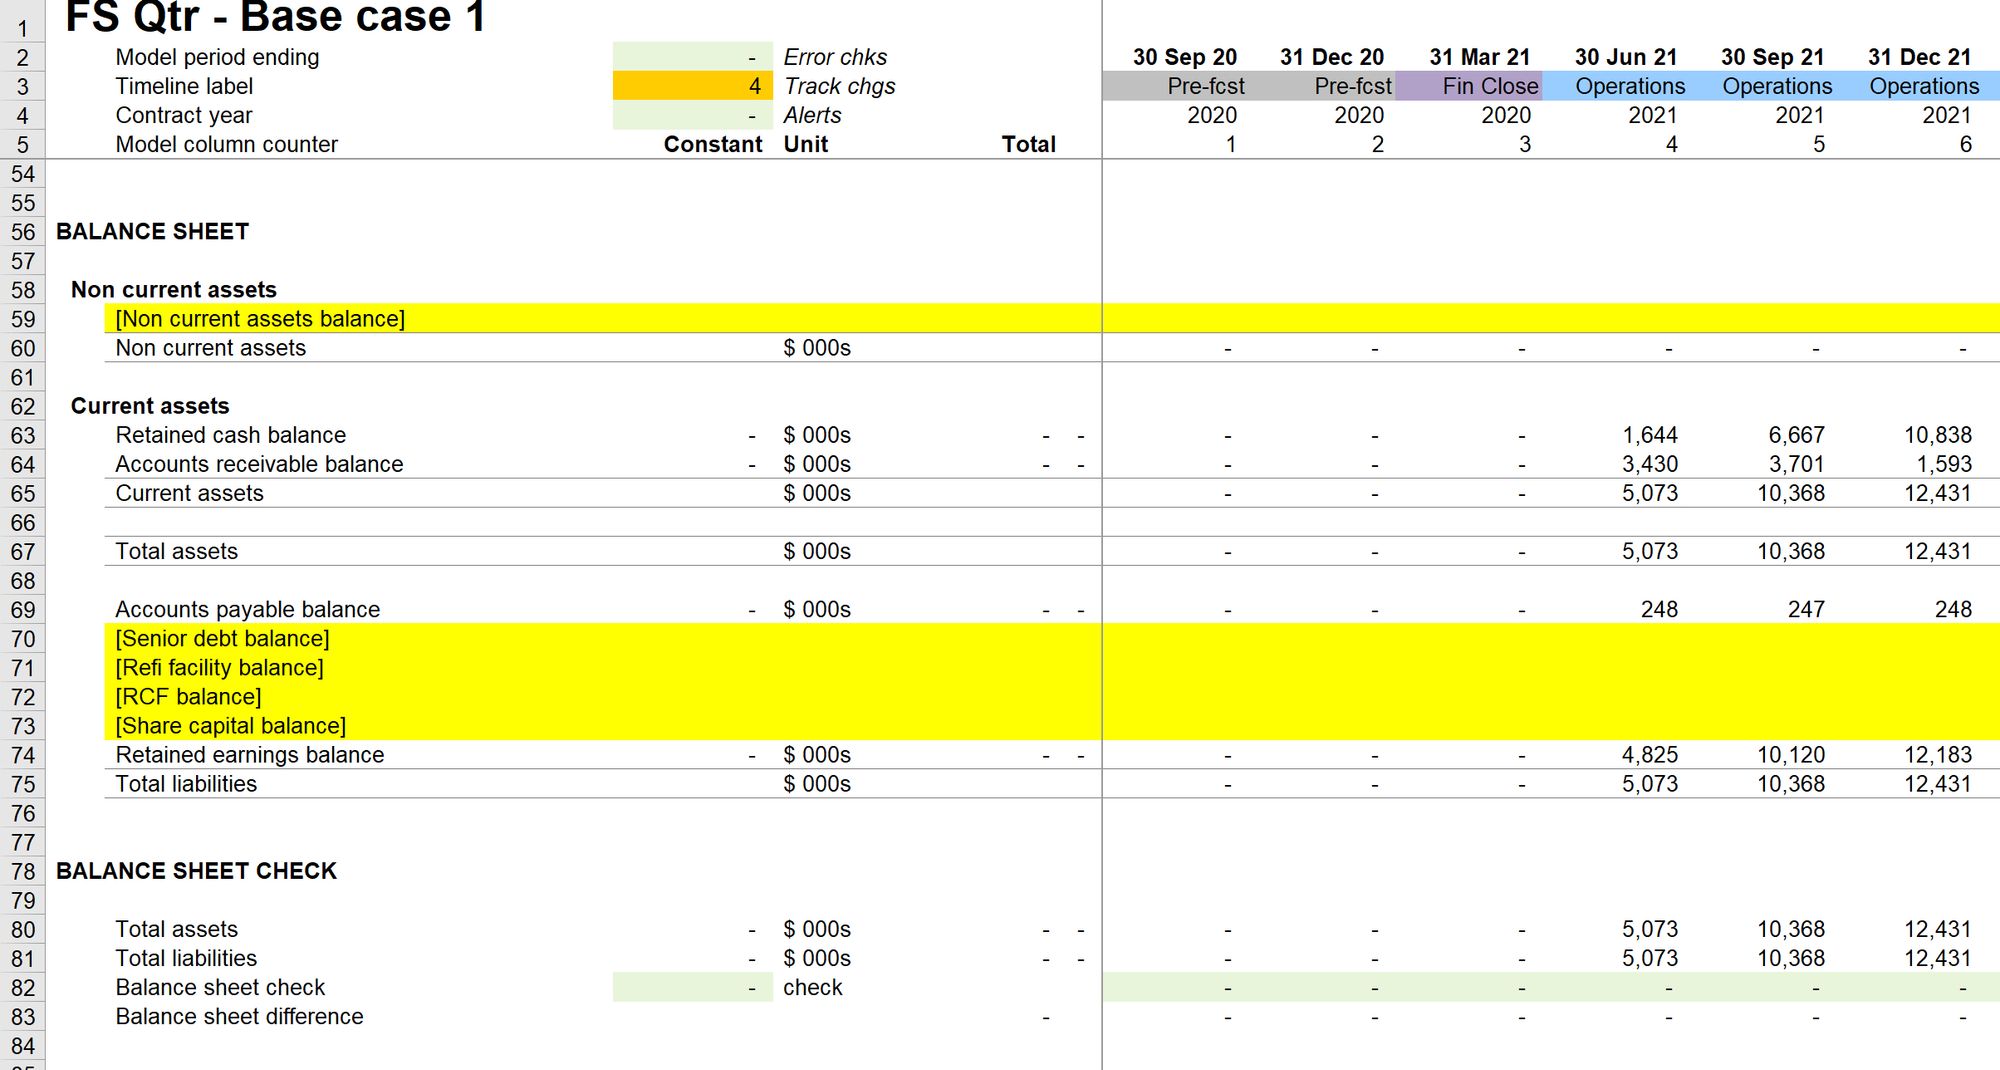
The balance sheet is now fully balanced.
As usual, we'll wrap up by running the Section Completion Checklist.
I found something I missed when I ran the checklist!
When I ran the Section Completion Checklist on my own modelling for this section, I noticed that I had not replaced the input of Accounts Receivable days with the correct input for Accounts payable days.
I considered amending the text of this page to include it in the steps above, but I think it's a perfect example of why we run the Section Completion Checklist. Had this been a real modelling job and I had not run the Checklist, I would have left this error in the model.
Lesson: Always run the checklist!
Download the model completed to this point:
To obtain the worked example file to accompany this chapter buy the financial modelling handbook.

Comments
Sign in or become a Financial Modelling Handbook member to join the conversation.
Just enter your email below to get a log in link.